Import Facebook Events
To import Facebook Events into the Modern Events Calendar, you must be the admin of your Facebook Developer account to create an app. You can learn how to do that here.
Basically, you need to create an app, and a temporary access token and then upgrade it to a permanent one. To do this, you need to follow the instructions below:
Step 1: Facebook Developers
You need to sign up on the Facebook developers’ website.
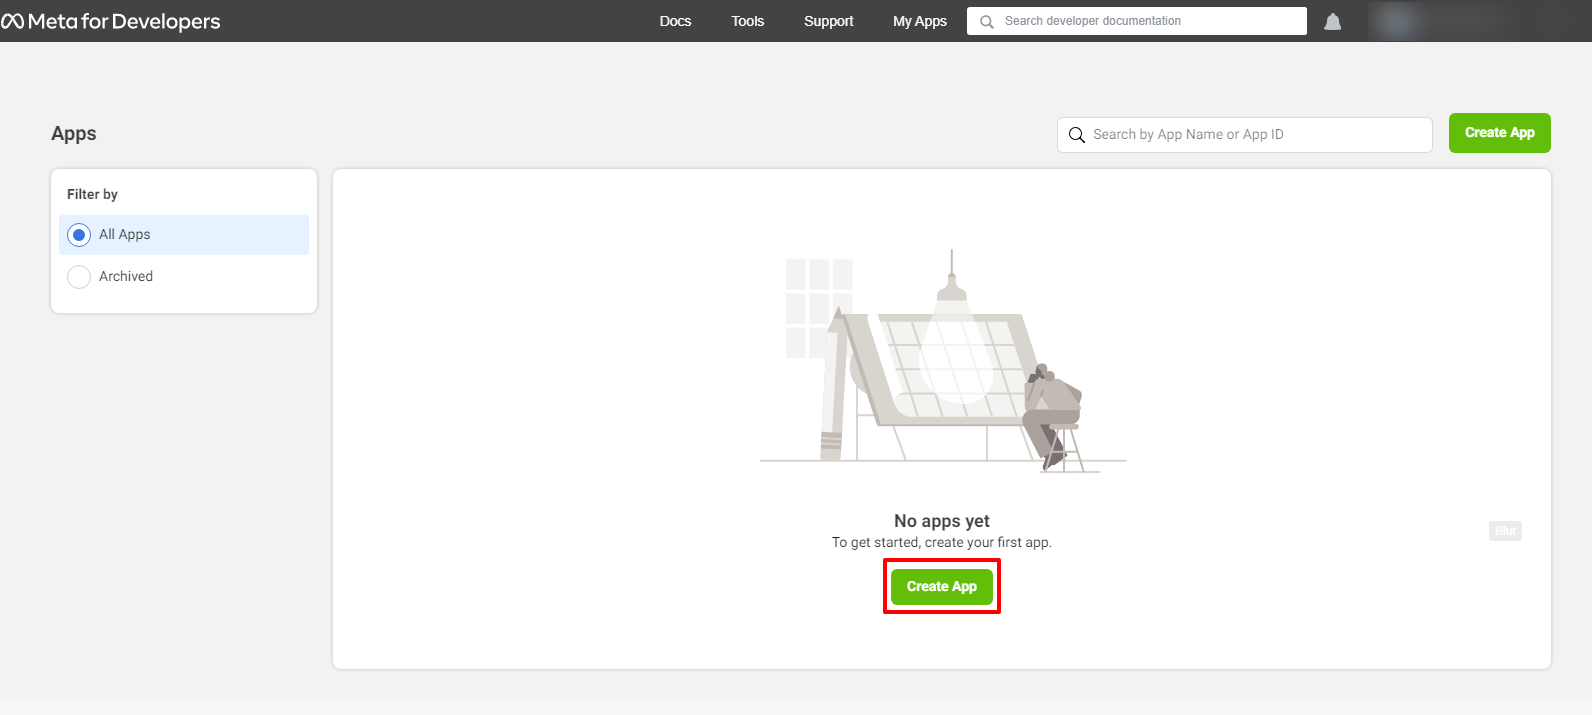
Step 2: Create a Facebook App
You need to create a Facebook app if you don’t have one.
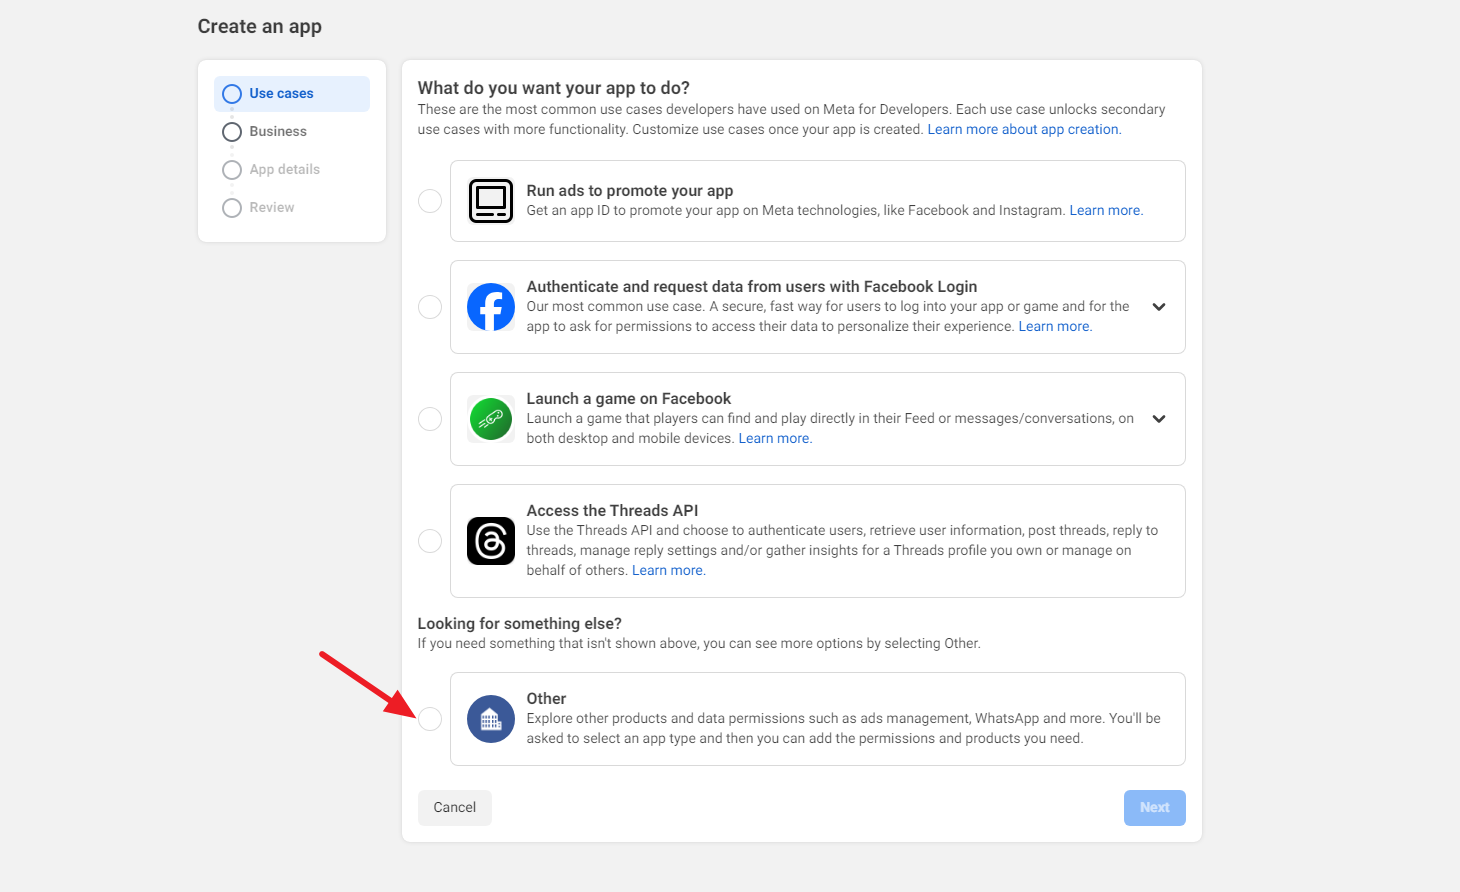
On the next window, click on “Other.”
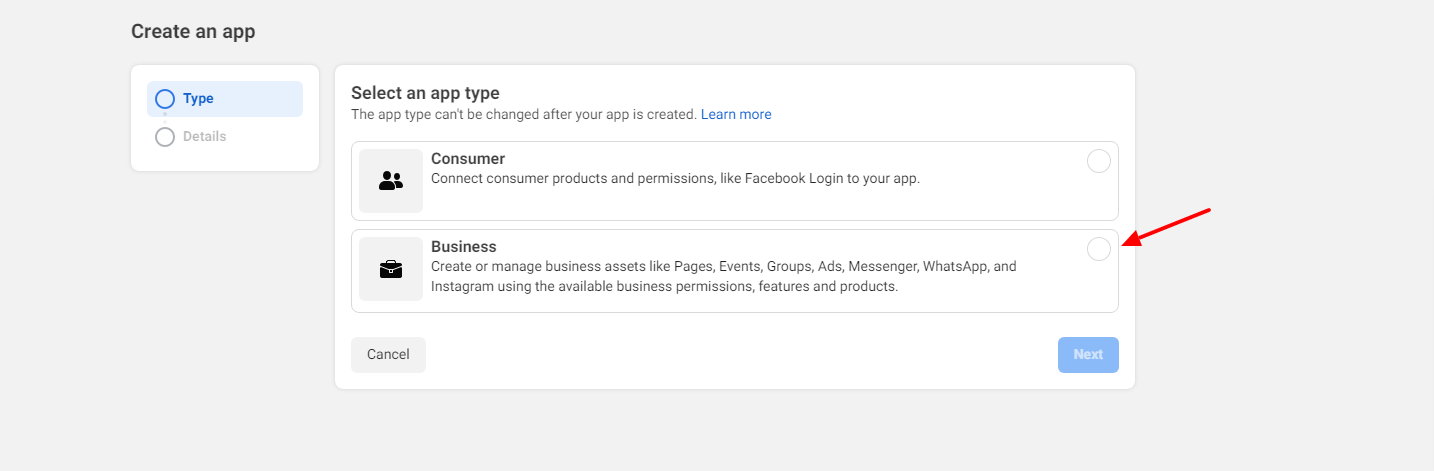
A window opens up, asking you to select an app type. Choose Business, and click Next at the bottom of the page.
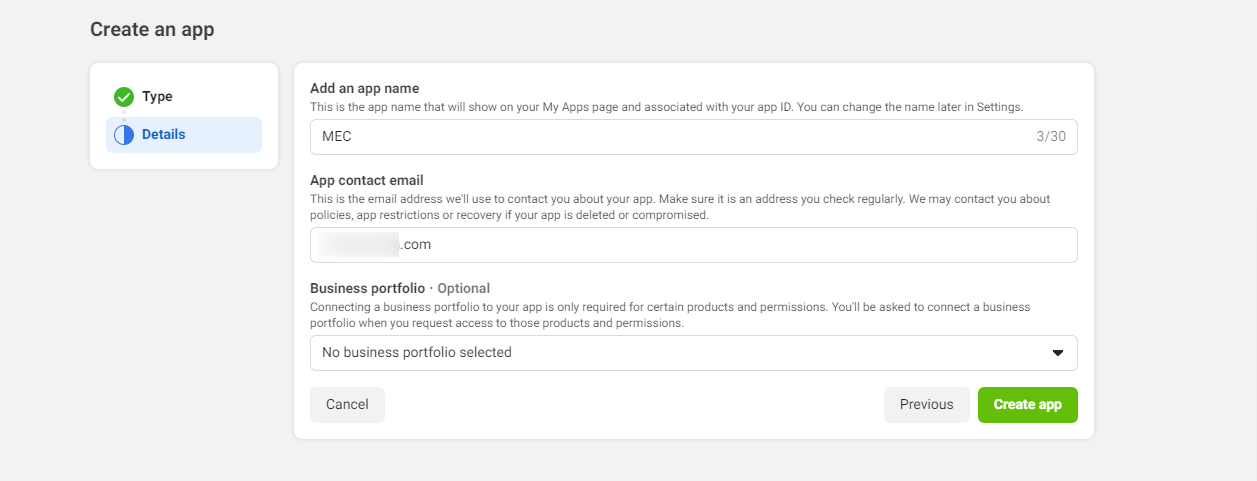
In the next step, the basic information of your Web App are required as shown in the example, and once done, click on Create App.
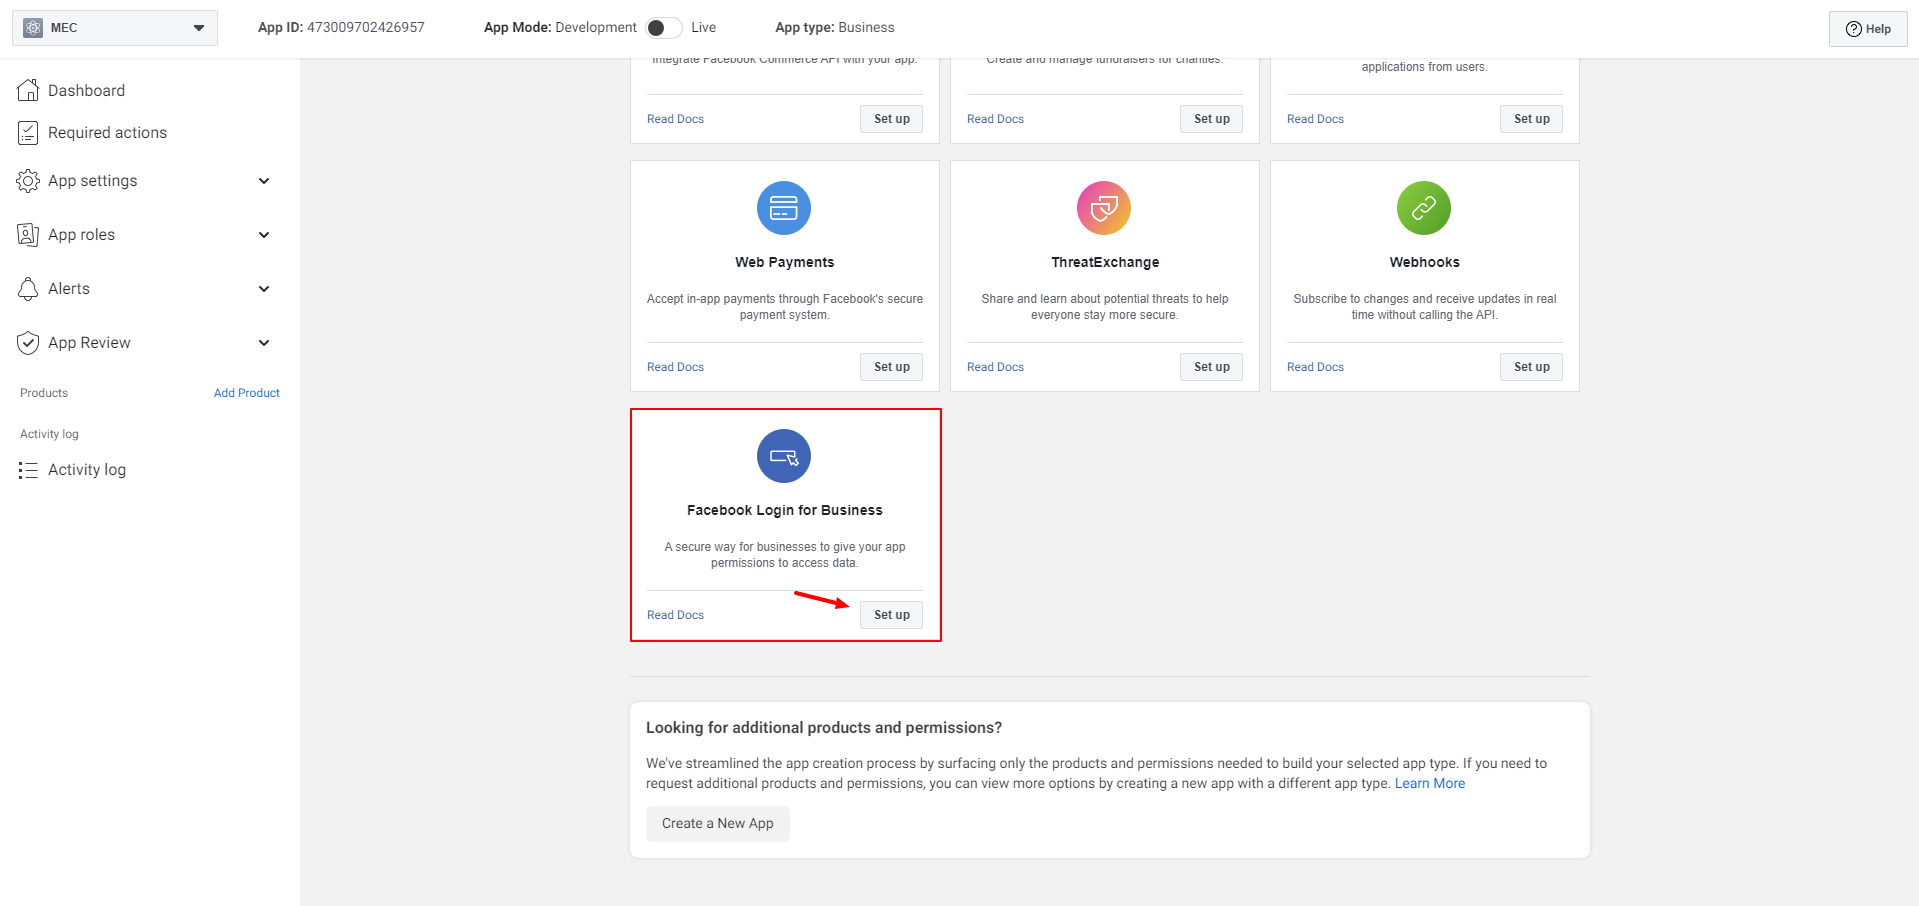
On this product page, setup and configure the “Facebook Login for Business” Product
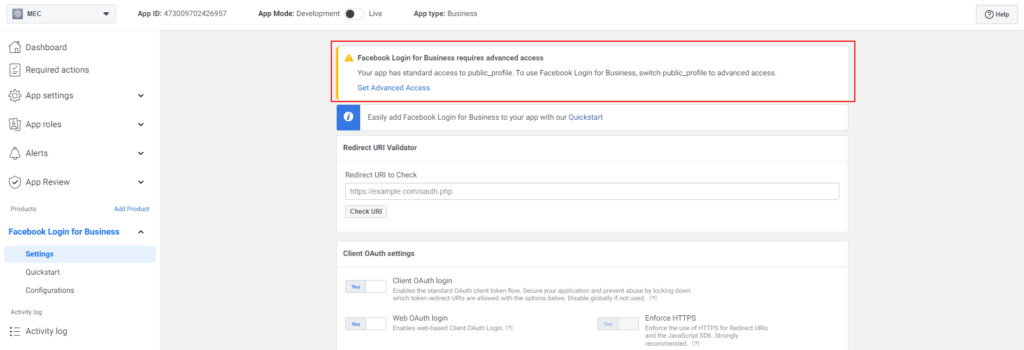
You will then be redirected to the “Settings” menu. If you see a warning on the page titled “Facebook Login for Business requires advanced access“, ignore it, it will not interfere with the process.
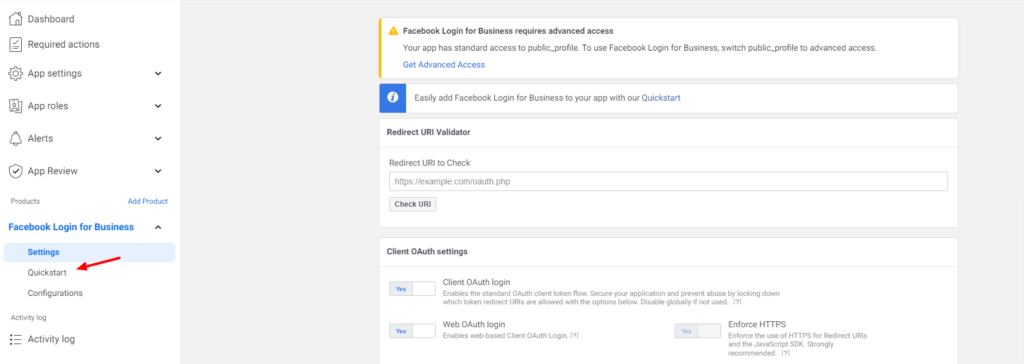
At this point, click “Quick Start” to complete the remaining settings.
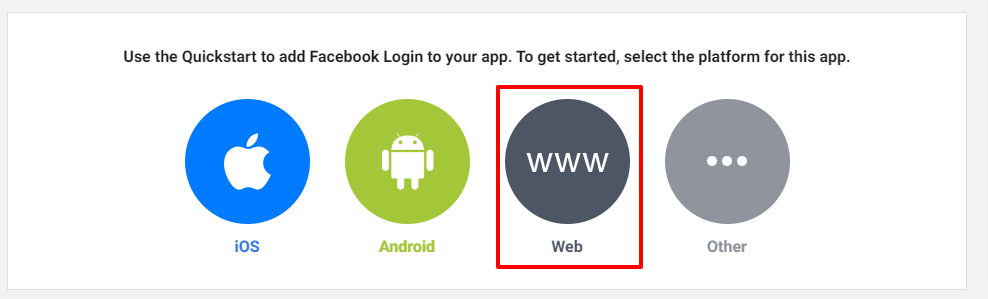
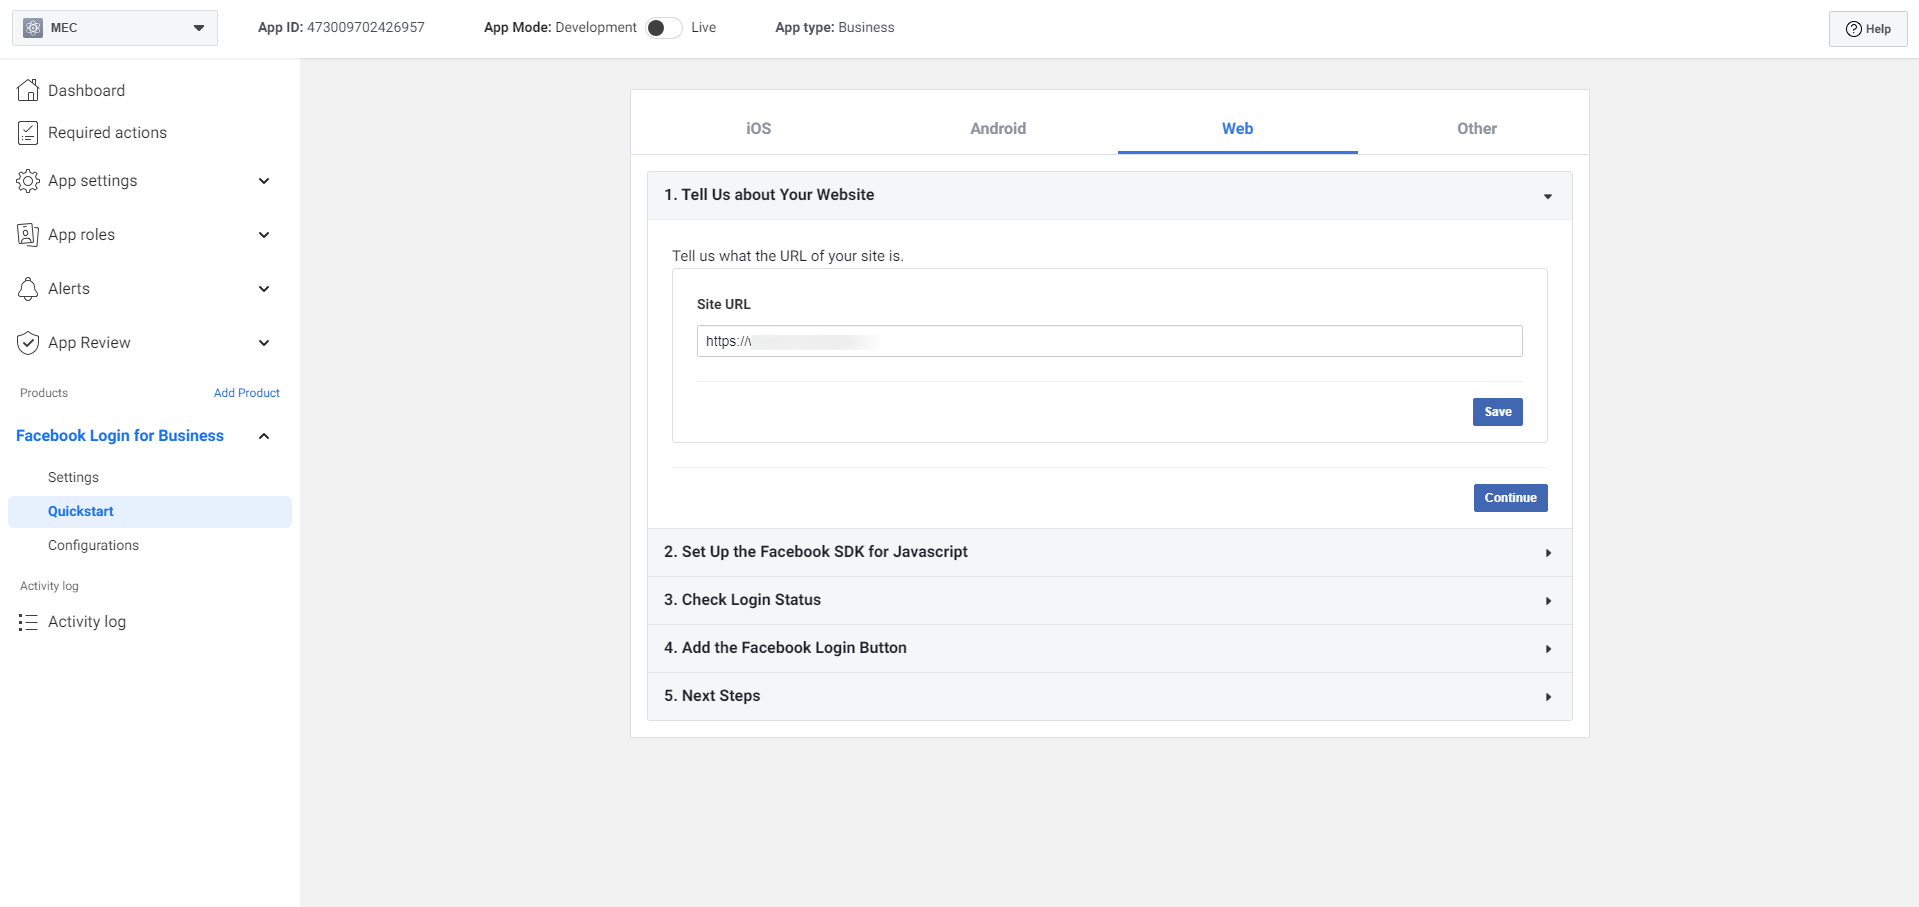
Next, click on the Web option.
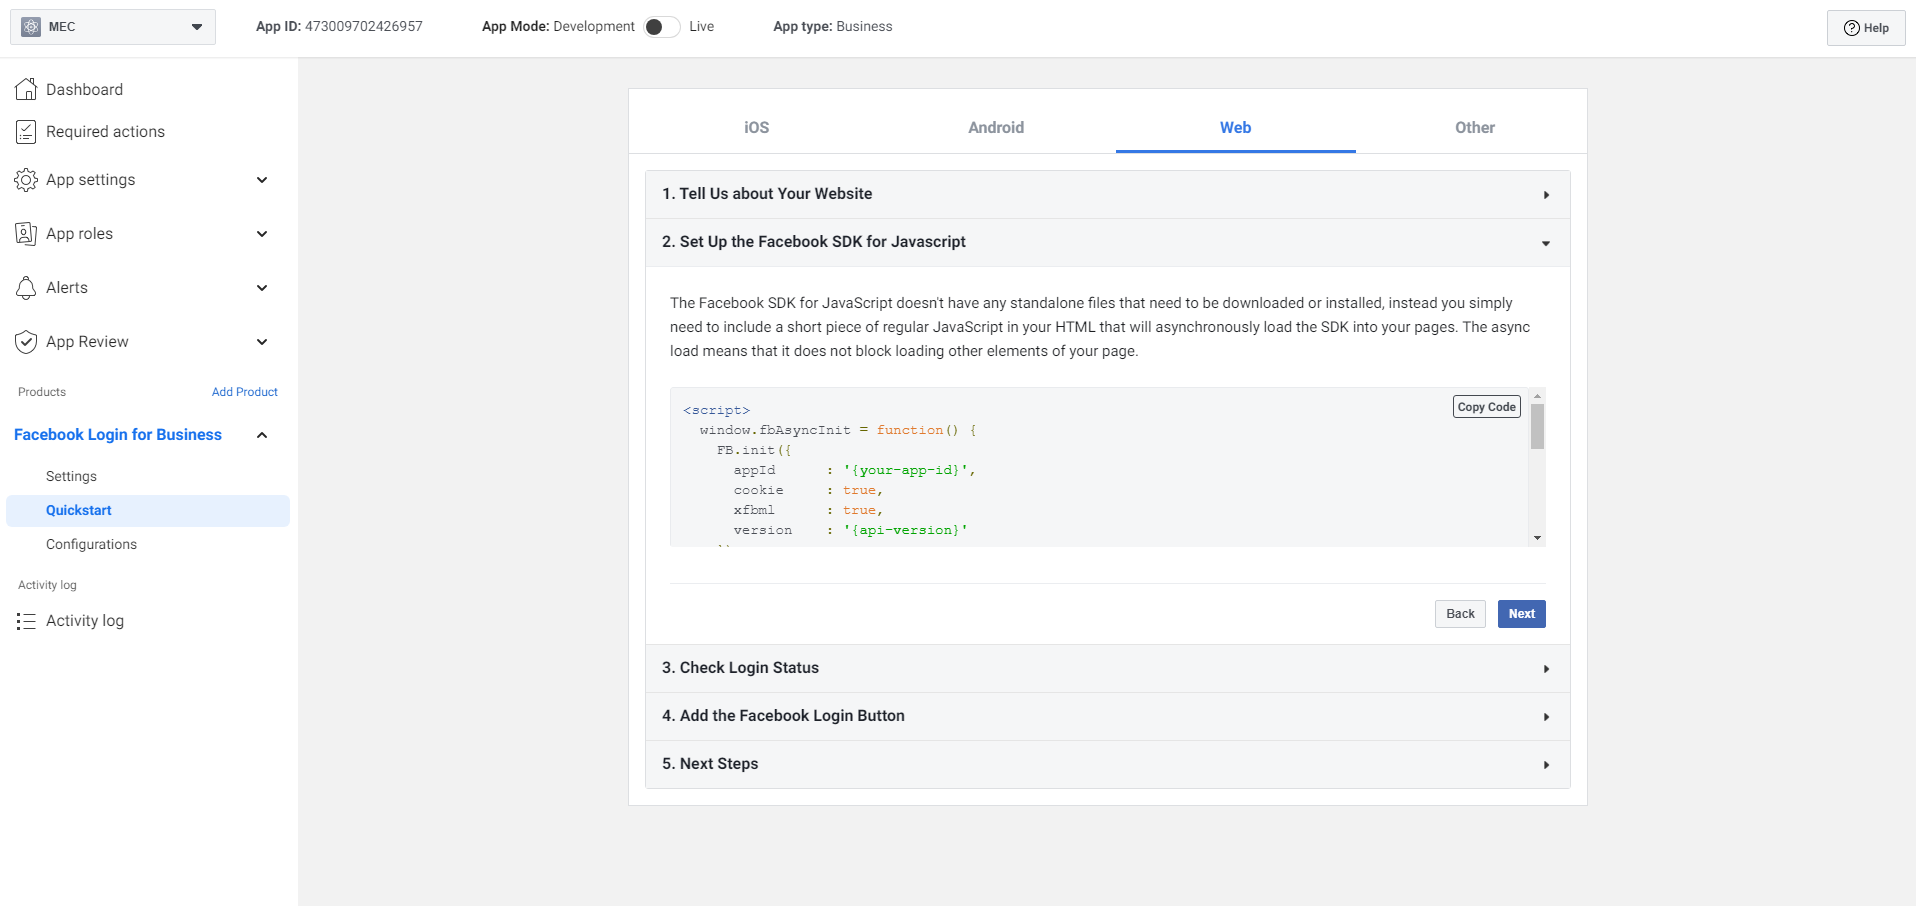
In the highlighted tab, enter personal information such as your website URL. Click on Continue, and in the final stage, you’ll be provided a code to copy. Ignore the rest and click on Next.
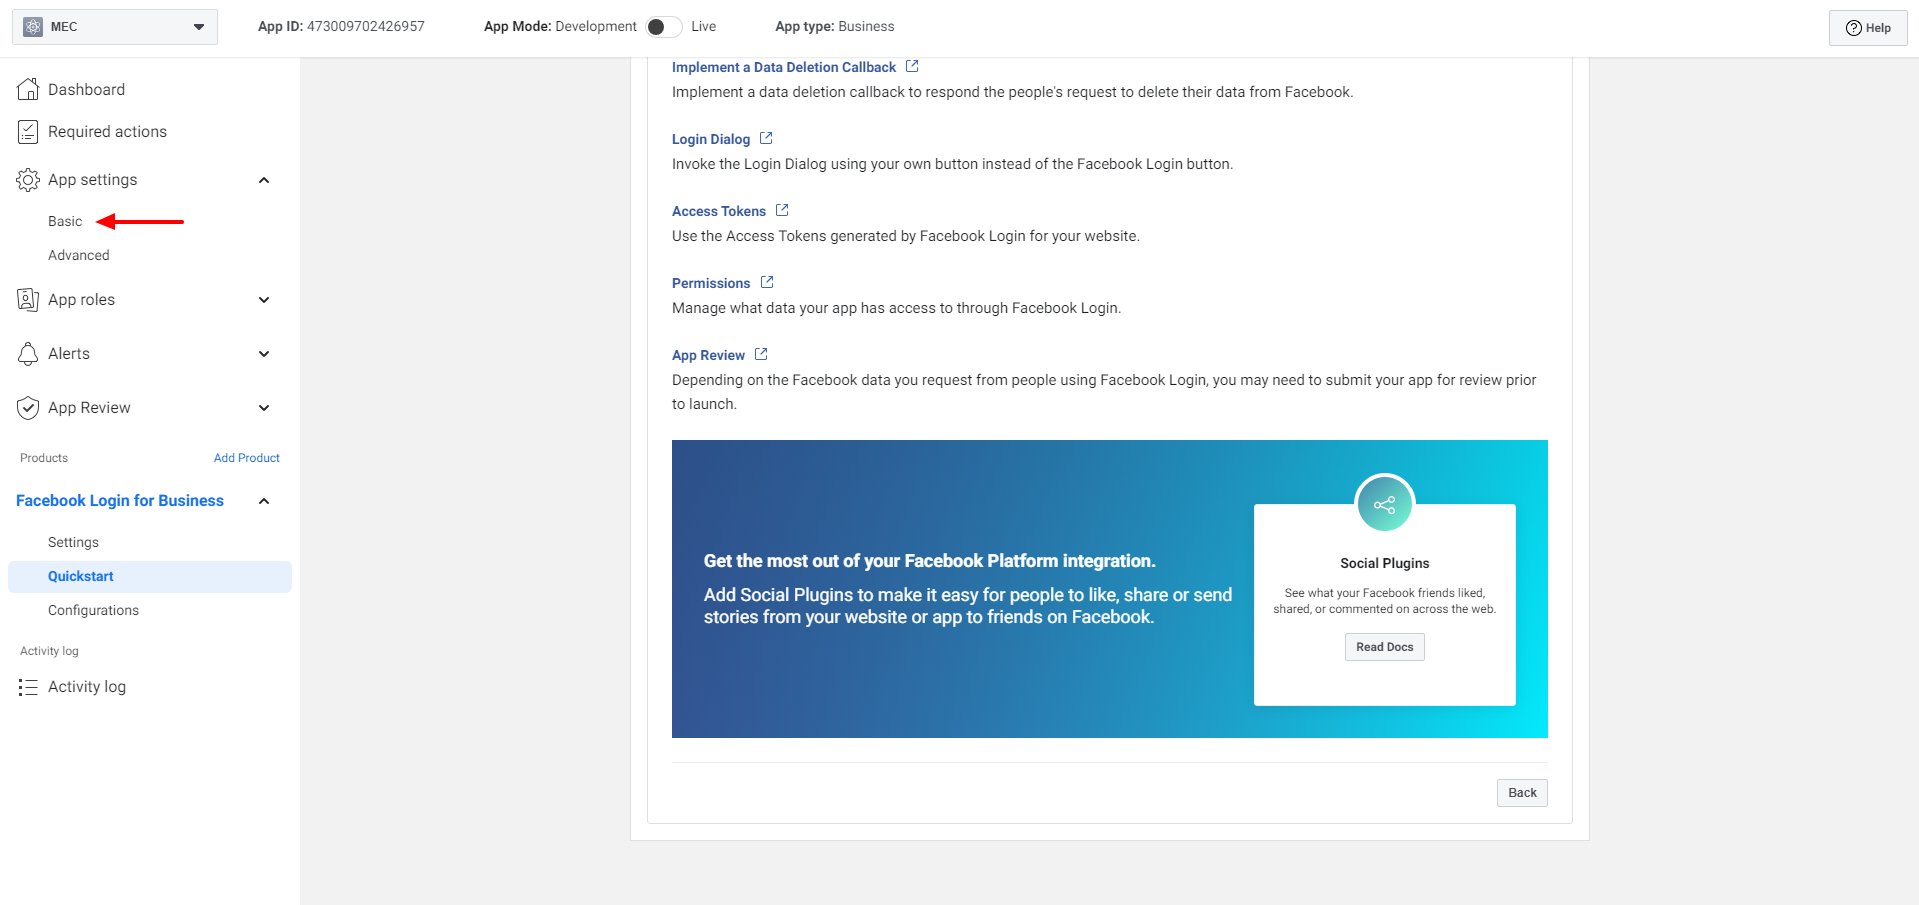
Click on App Settings > Basic on the left sidebar menu and enter your website address in the “App Domains.”

Step 3: Temporary Access Token
To create a temporary access token, go to Facebook Graph API Explorer. Find your application in the “Meta App” dropdown menu. Then, from the “User or Page” drop-down menu, select the “Get Page Access Token” option.
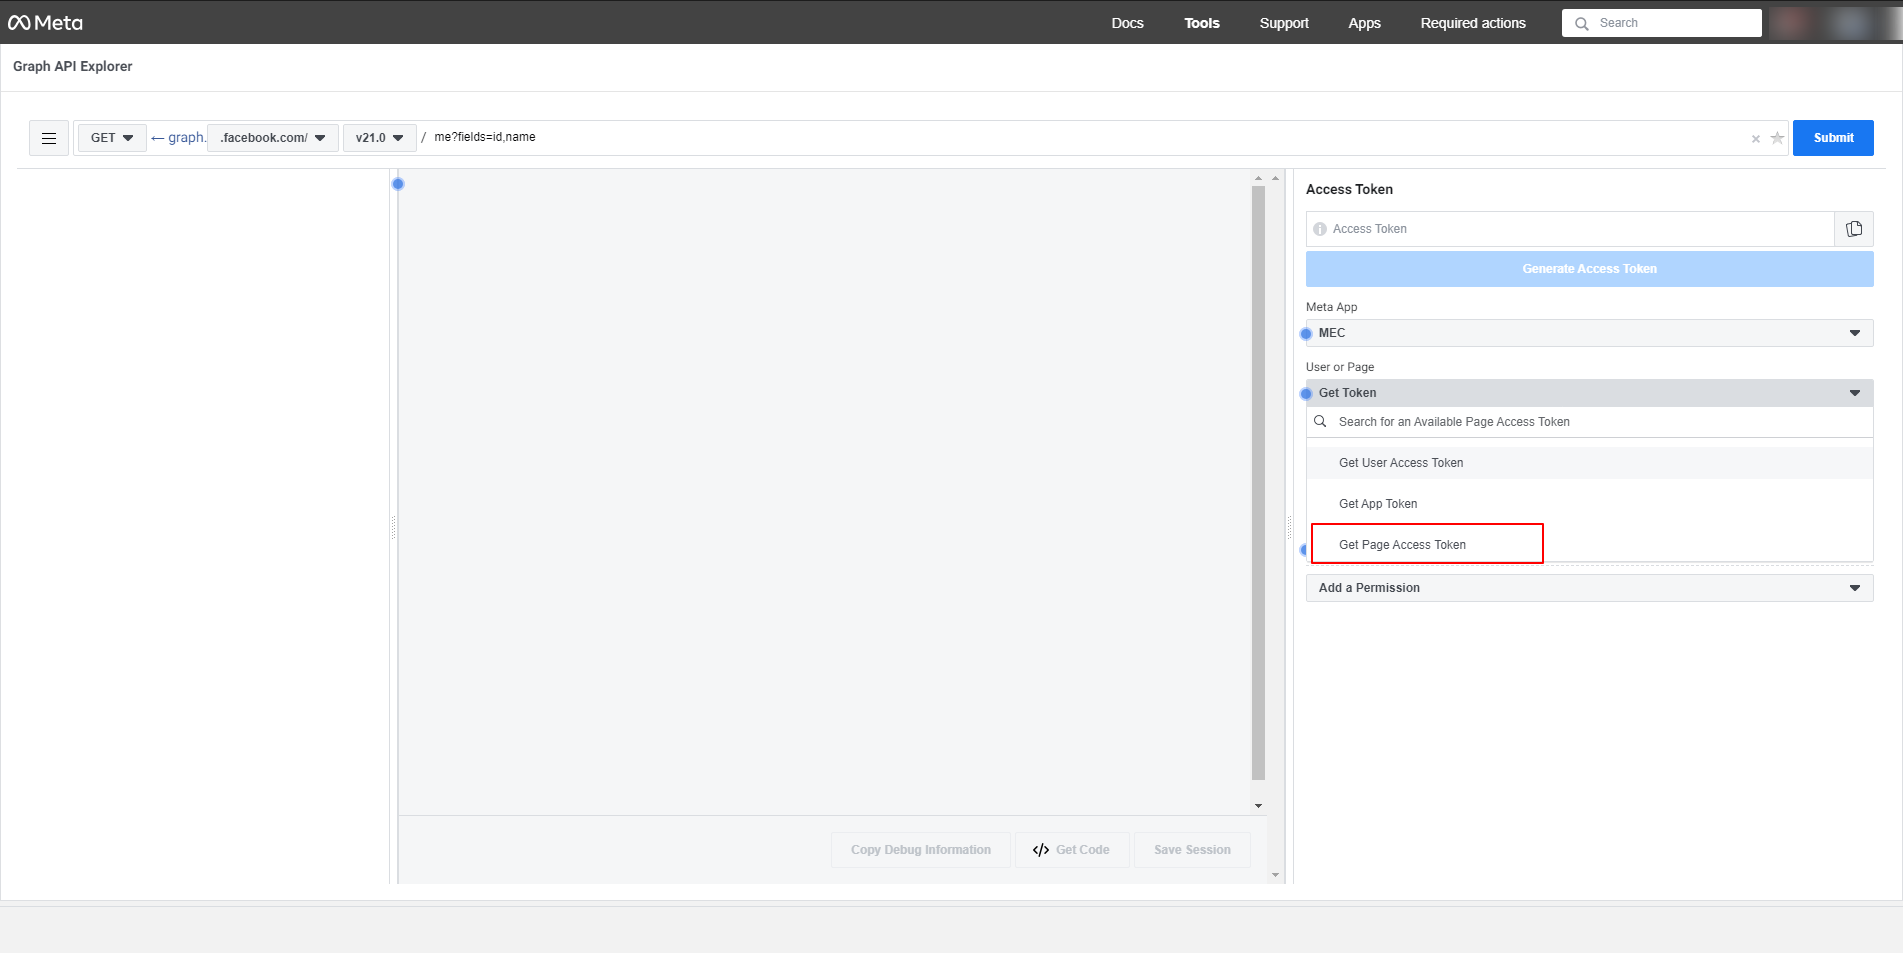
Note: Events can only be published to Facebook account pages and not to the main Facebook profile. Therefore, take note that before doing the steps above, you must create at least one page for the Facebook account, otherwise you will not be able to access the Access Token.
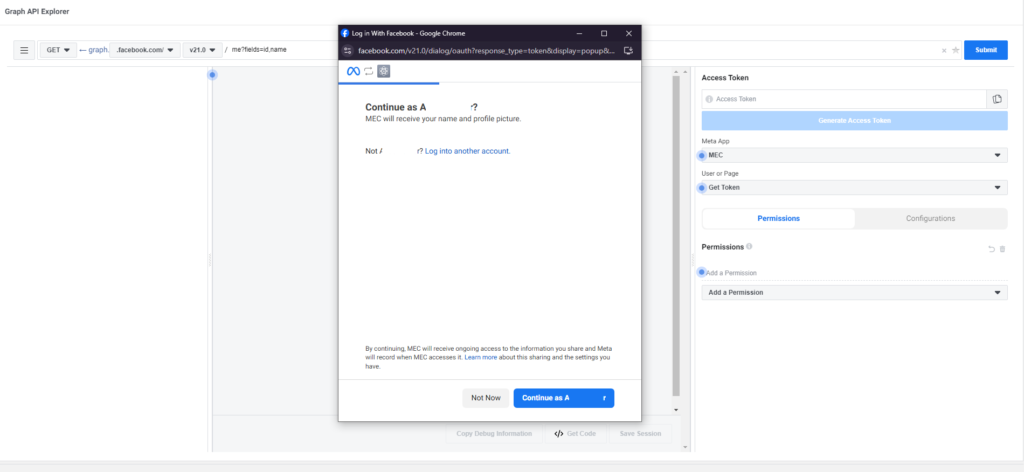
After clicking on “Get Page Access Token“, a pop-up window will appear asking you to confirm access to the Facebook account the App is built on. Click on the blue button.
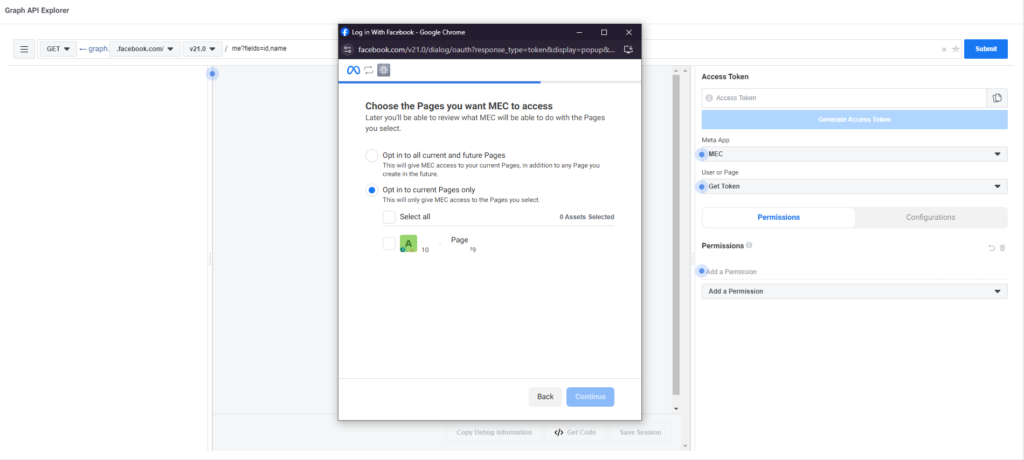
Next, you need to select the pages you want the app to have access to, from the available pages, then click the “Continue” button. You can select as many pages as you want and grant access to all of them.
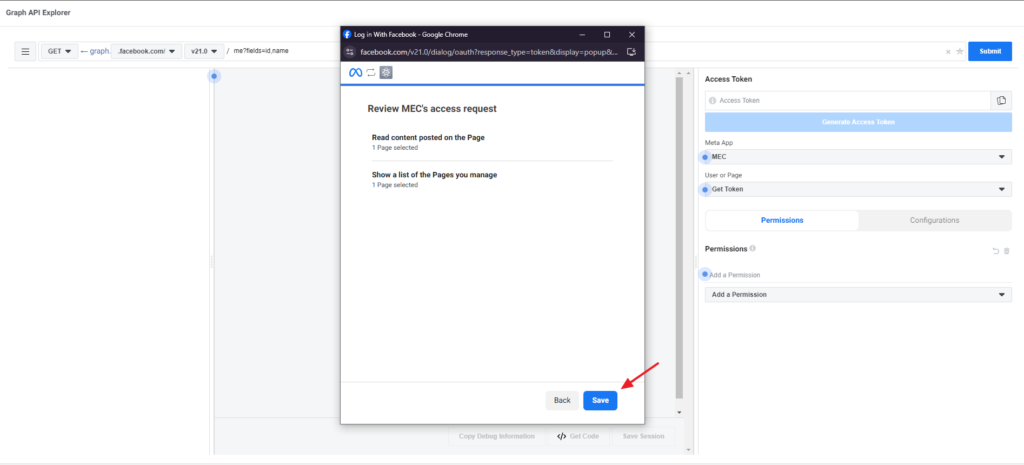
Next, a list of required permissions will be displayed. Click on the “Save” button and then on “Got it“.
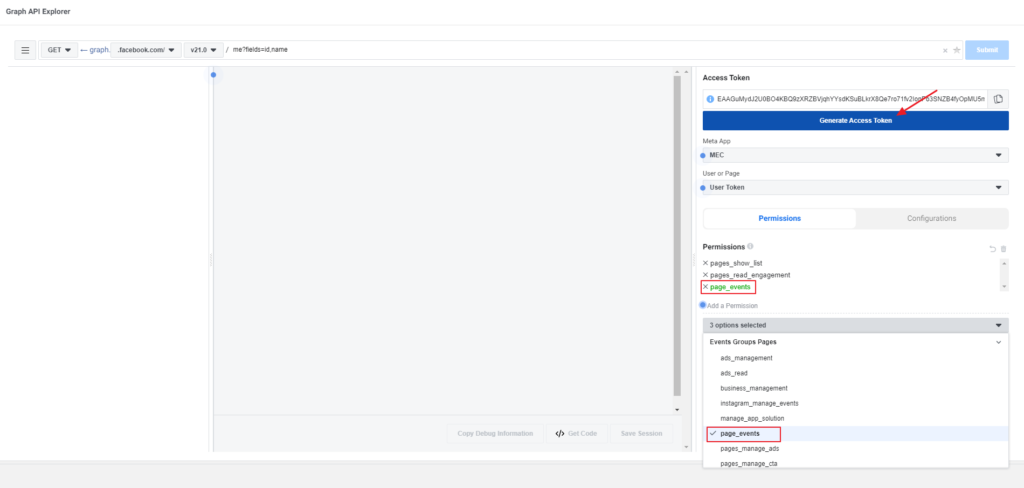
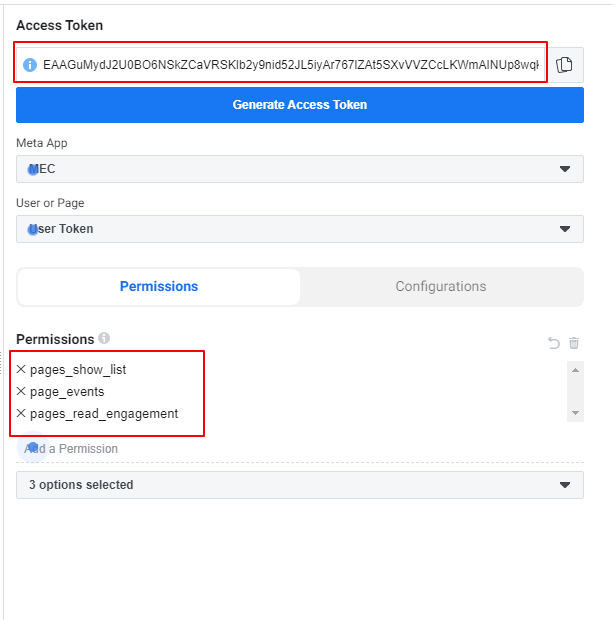
After that, you can see that the required permissions are added to the Permissions list and an Access Token is created.
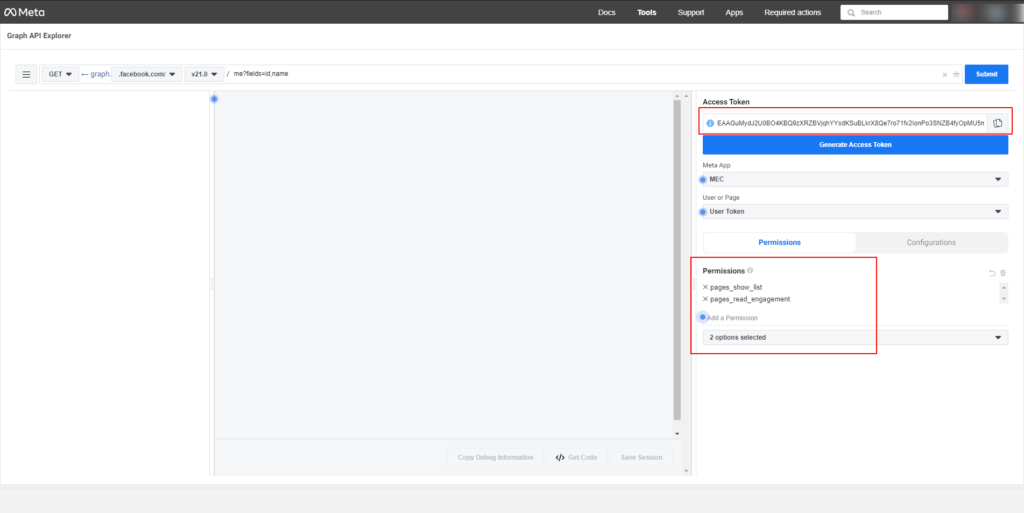
Another permission must be added to the permissions list for smooth access. To do this, click on the “Add a Permission” drop-down menu select “page_events” from the permissions list to add it to the list, and then click on the “Generate Access Token” button to create a new Access Token.
Step 4: Upgrade Your Token
Then, you need to upgrade your token to a two-month user access token.
Note: A temporary user access token is a valid one-hour access token for which you must extend the expiration time.
Extend the Expiration Time
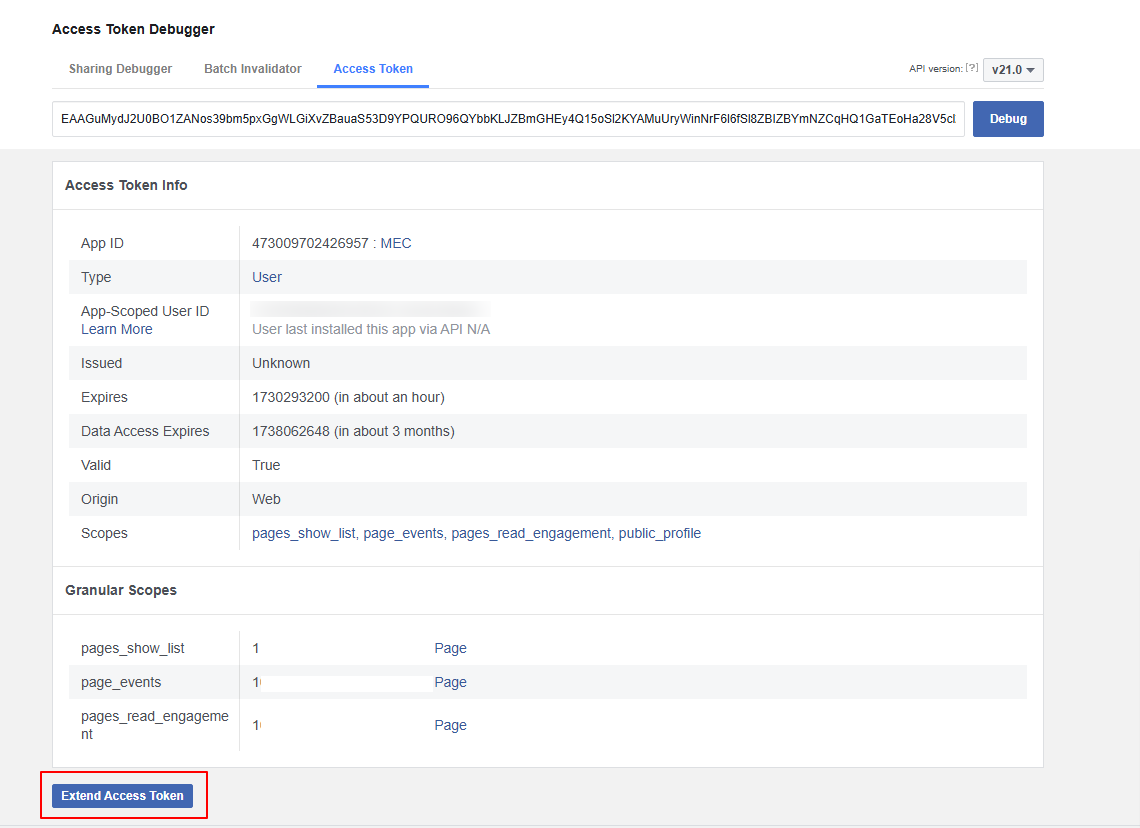
To do this, copy the code, go to the Access Token Debugger Tool, and enter it in the Debugger. Now click the Debug button.

Two-Months Access Toke
To create a two-month access token, click on the “Extend Access Token” option at the bottom of the box where user/app tokens are placed.
The button will be disabled, and a new box will appear at the bottom of the page.
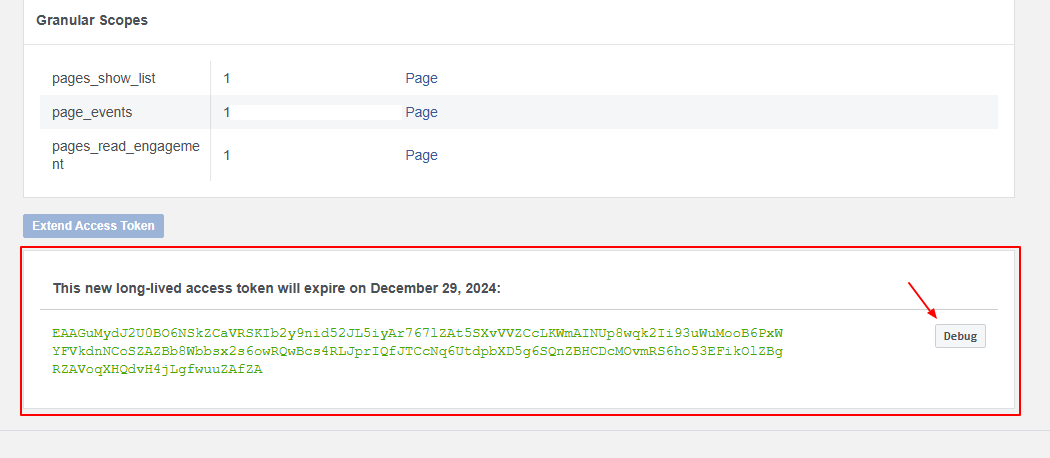
Click on the “Debug” button (with a gray background) beside the new Token.
As mentioned earlier, this will open up a new window or tab in your browser.
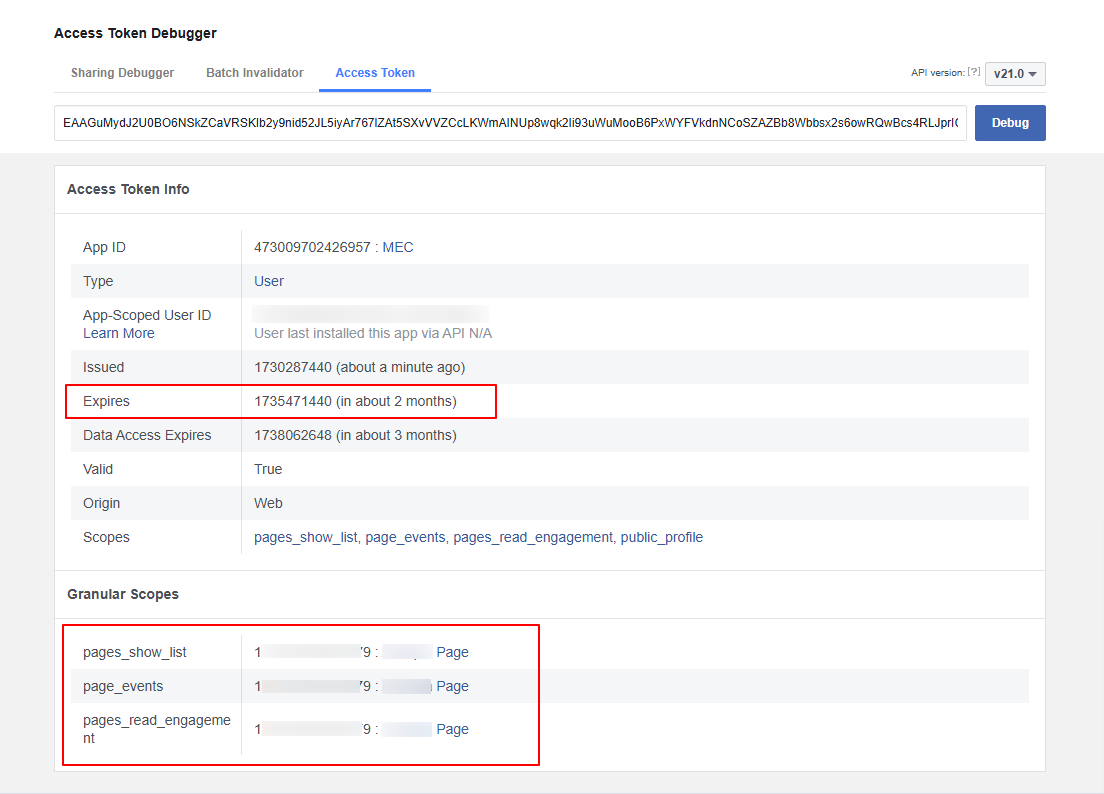
Then, you will be redirected to the Access Token Debugger, where your temporary user access token information is stated.
Verify the information for this new token. Make sure that it is a Page Token that expires in two months and has the “pages_show_list”, “page_events” and “pages_read_engagement” permissions.
Copy the token at the top of the page (at the left of the blue “Debug” button).
*Step 5: Last Step*
The last step is to generate the permanent user access token.
Graph API Explorer
Now, head over to Graph API Explorer after generating the permanent user access token and place it in the “Access Token Field.”
Paste the token you just copied (that expires in 2 months) in the “Access Token” field
And make sure all three permissions you selected earlier are displayed.
Note that you should not click on the “Generate Access Token” button at this stage.
To access accounts, you need to change the API endpoint.To do this, in the field at the top of the page, instead of “me?fields=id,name” you need to put “me?fields=accounts” and click the “Submit” button. Then, the ID of all pages that you will allow access to via Access Token will be displayed.

Then, you will be redirected to the verification stage, where you will ensure that the generated page access token is permanent. Go here again and click on the “Debug” button to access an extended access token.
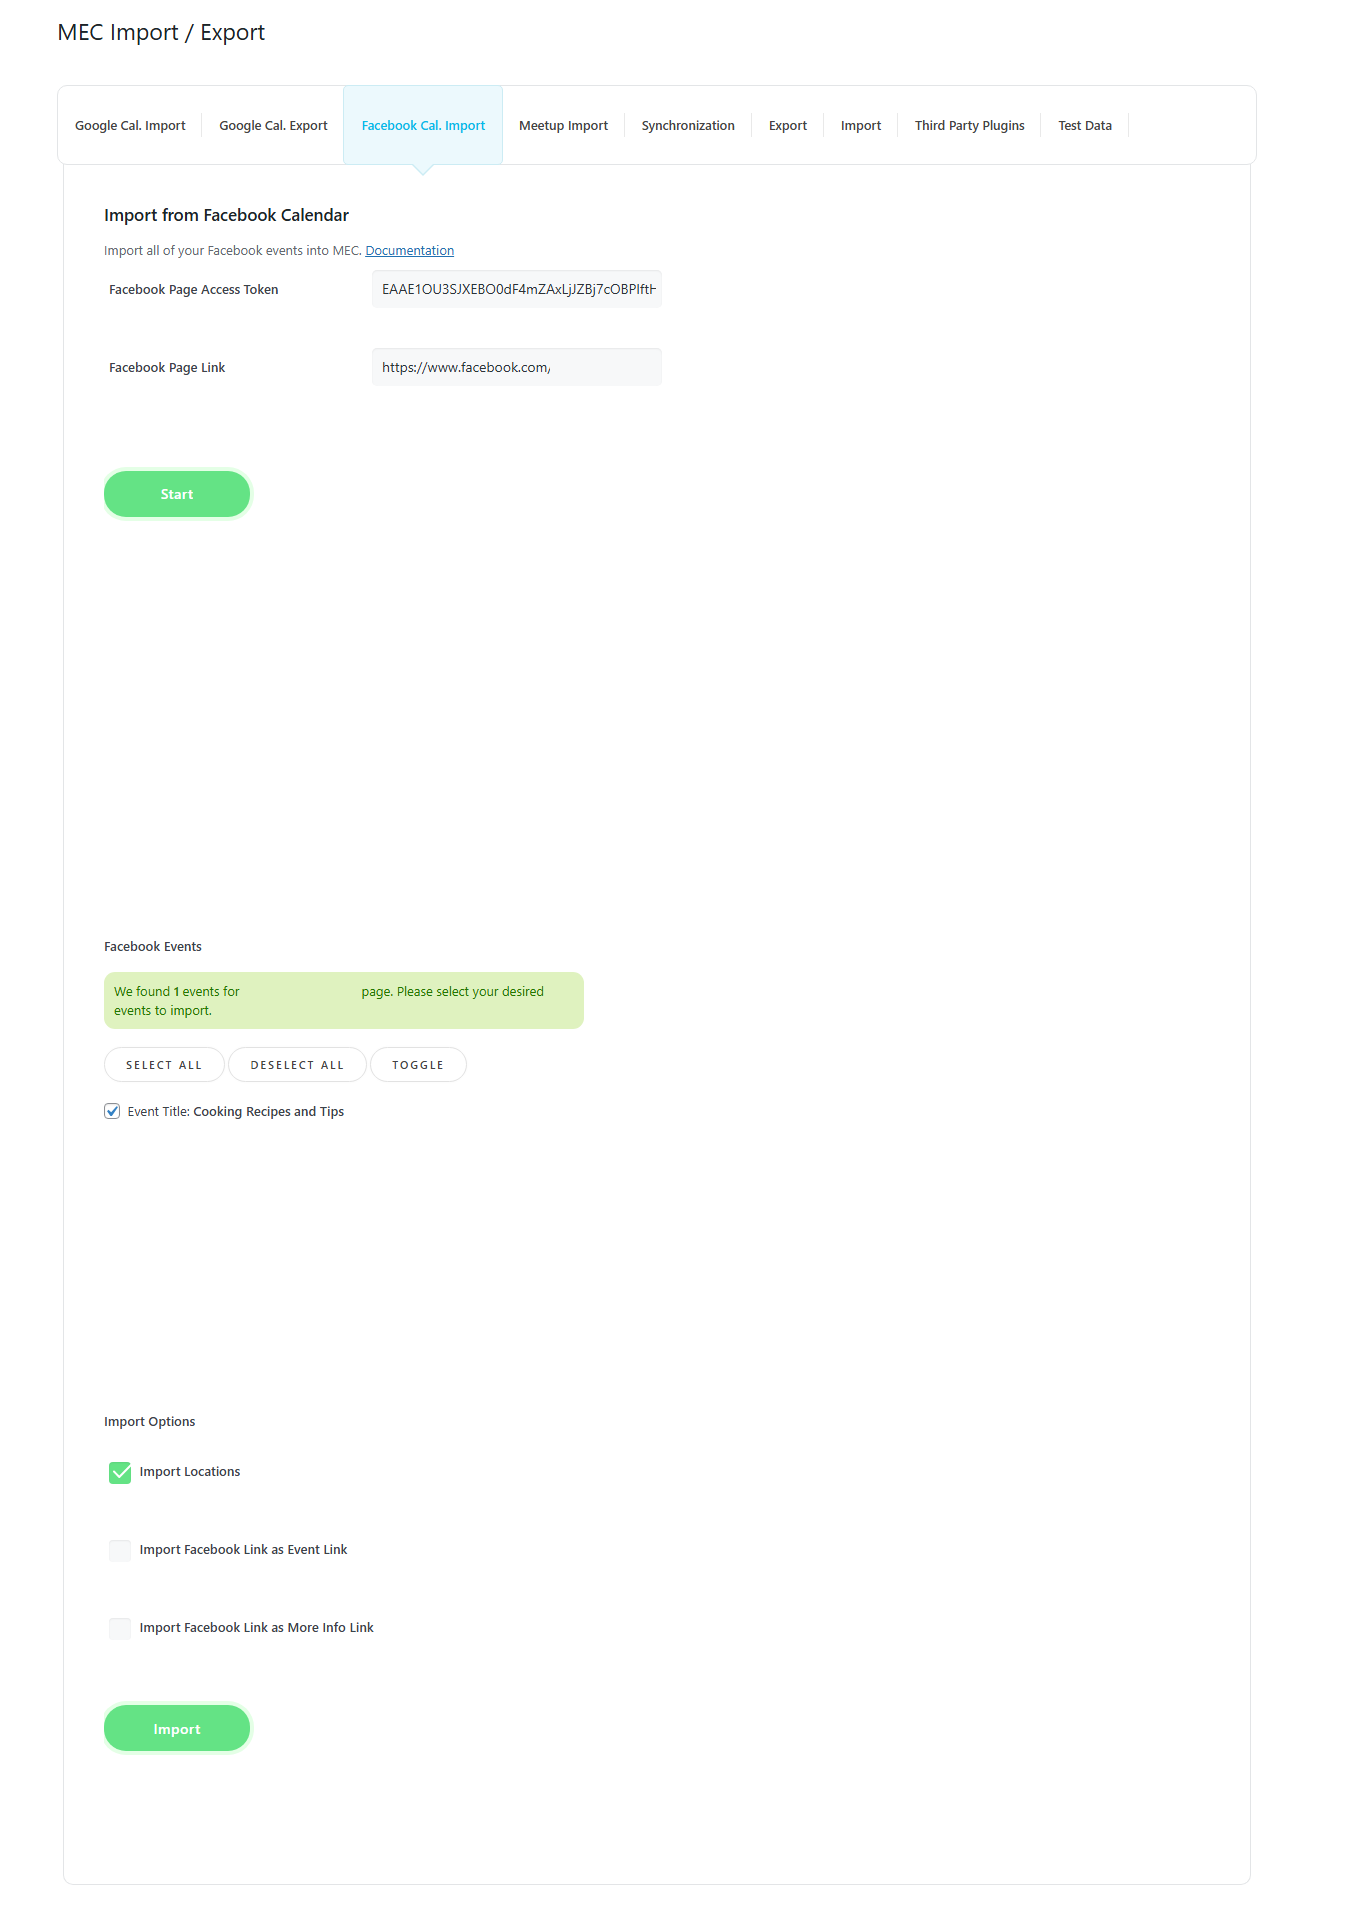
Facebook Cal. Import in MEC
Go to WordPress Dashboard > M. E. Calendar > Import/Export > Facebook Cal. Import, and fill in the information.
Finally, click on the Start button:
Updated on: 01/02/2026
Thank you!