RSVP Events Addon
The RSVP Events Addon is a streamlined solution for Modern Events Calendar (MEC) that allows users to register their attendance using just their name and email. This tool is ideal for managing attendee counts, collecting additional data via custom fields, and providing a simplified registration experience from both the front-end and back-end.
Initial Setup
To begin using this addon, ensure your environment meets the following requirements:
- MEC Version: Compatible with both MEC Lite and MEC Pro.
- Installation: Verify that the RSVP Events Addon is installed and activated alongside the core MEC plugin.
Activation Path: Navigate to WP Dashboard > M.E. Calendar > Settings > RSVP to access the configuration panel.
Configuring Global RSVP Settings
General Activation & Security
This section covers the primary module settings that dictate how the RSVP system functions across your entire site.

- Enable RSVP Events Module: This checkbox must be enabled to activate RSVP features site-wide.
- Captcha: Enable the Enable Google Captcha on RSVP form option to protect your registration forms from spam.
Display Options
These settings control the visual elements and user permissions of the RSVP form:
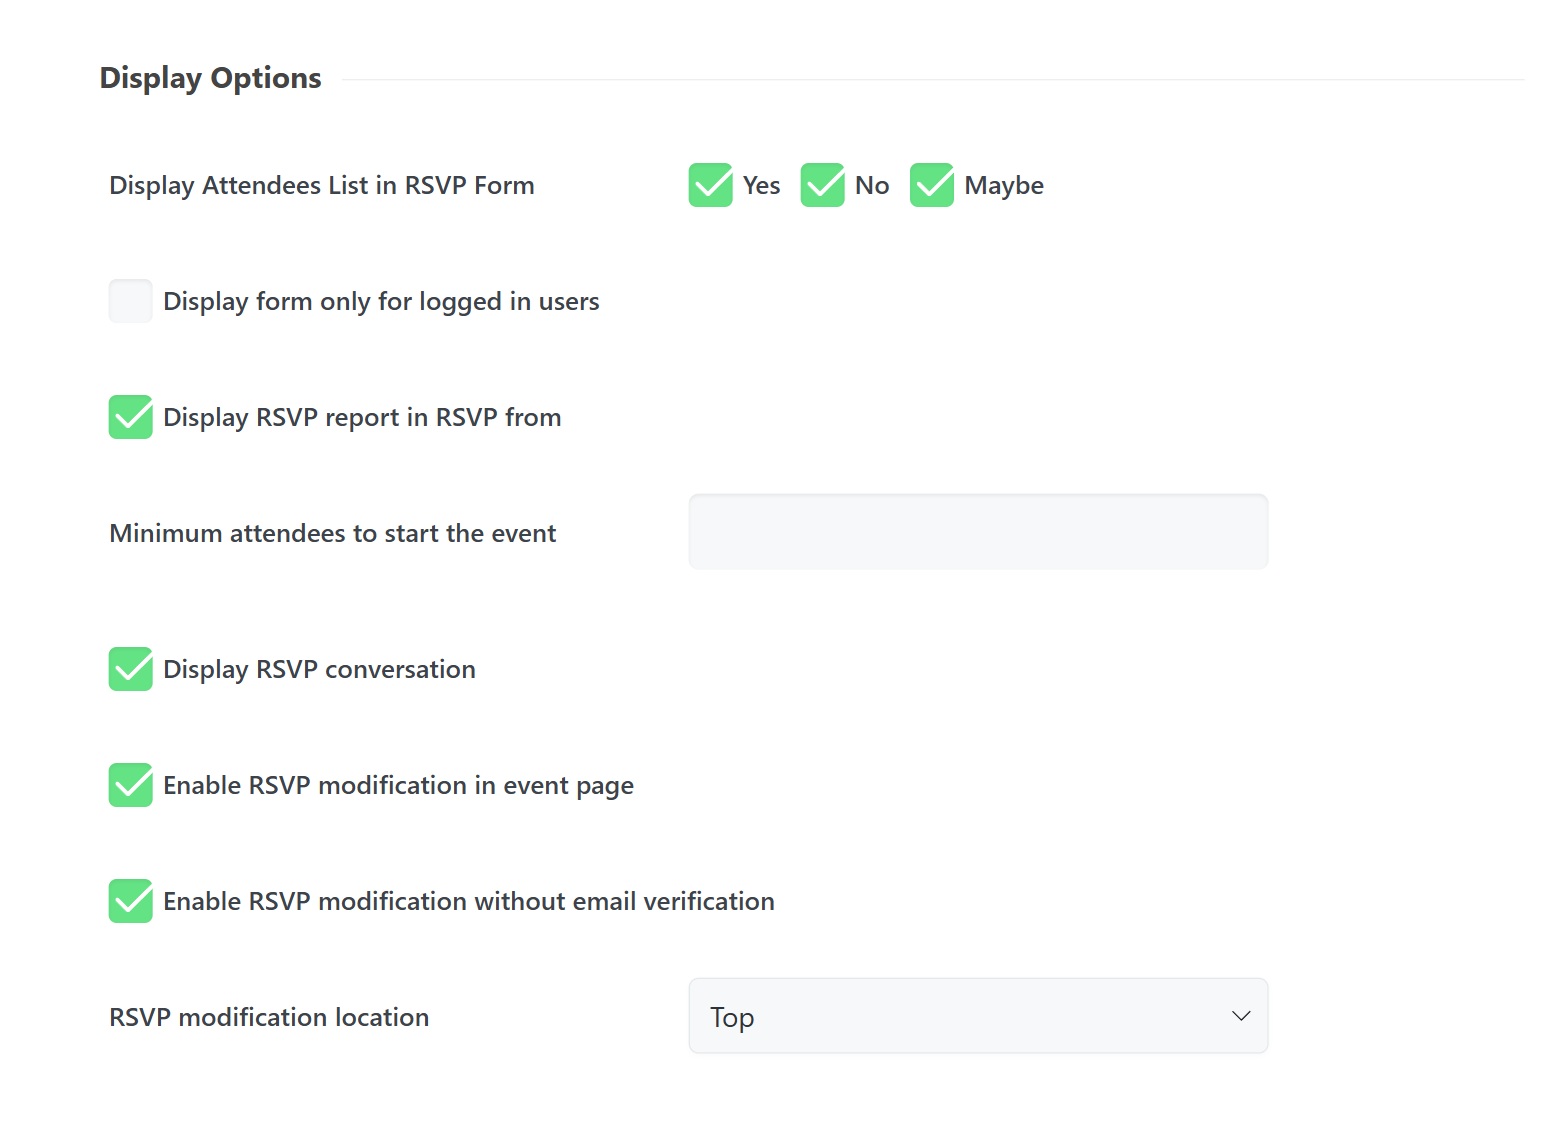
- Display Attendees List in RSVP Form: Choose to show who has selected Yes, No, or Maybe directly on the event page.
- Display form only for logged-in users: Check this to restrict RSVP access to registered WordPress users.
- Display RSVP report in RSVP form: Shows a summary of registration stats on the front-end.
- Minimum attendees to start the event: Set a threshold for the number of registrations required before an event is considered “active”.
- RSVP Conversation: Activates a dedicated comment area for attendees to engage with each other.
- Enable RSVP modification on the event page: Allows users to update their status directly from the event listing.
- Enable RSVP modification without email verification: If enabled, MEC skips the standard email verification process for modifications.
- RSVP modification location: Use the dropdown to place the modification link at either the Top or Bottom of the form.
Date & Interval Options
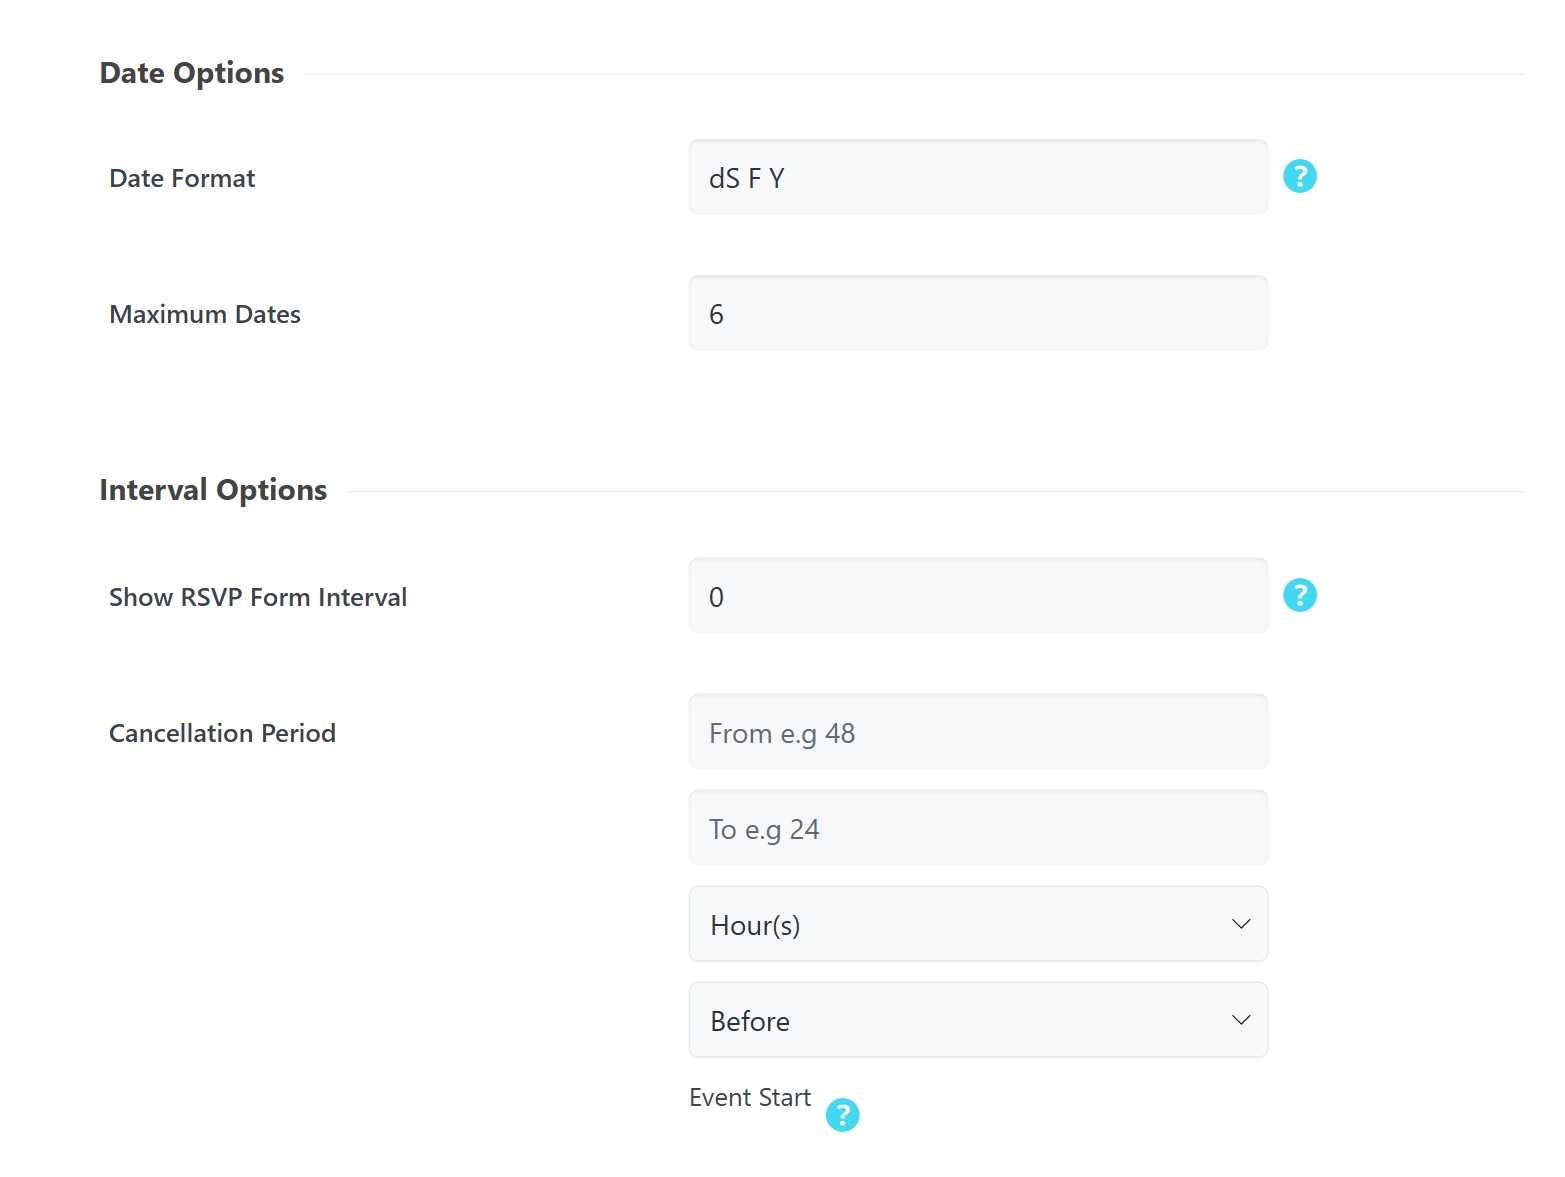
- Date Format: Define your preferred display format (e.g., dS F Y).
- Maximum Dates: Specify the total number of event dates a single user can RSVP for.
- Show RSVP Form Interval: Control when the form appears. For example, entering 30 opens the form exactly 30 minutes before the event starts.
- Cancellation Period: Define a specific window (in hours/days) relative to the Event Start during which users can cancel their RSVP (e.g., between 48 and 24 hours before the event).
Management Hub & Advanced Rules
User Registration
MEC can automatically create WordPress accounts for your attendees:
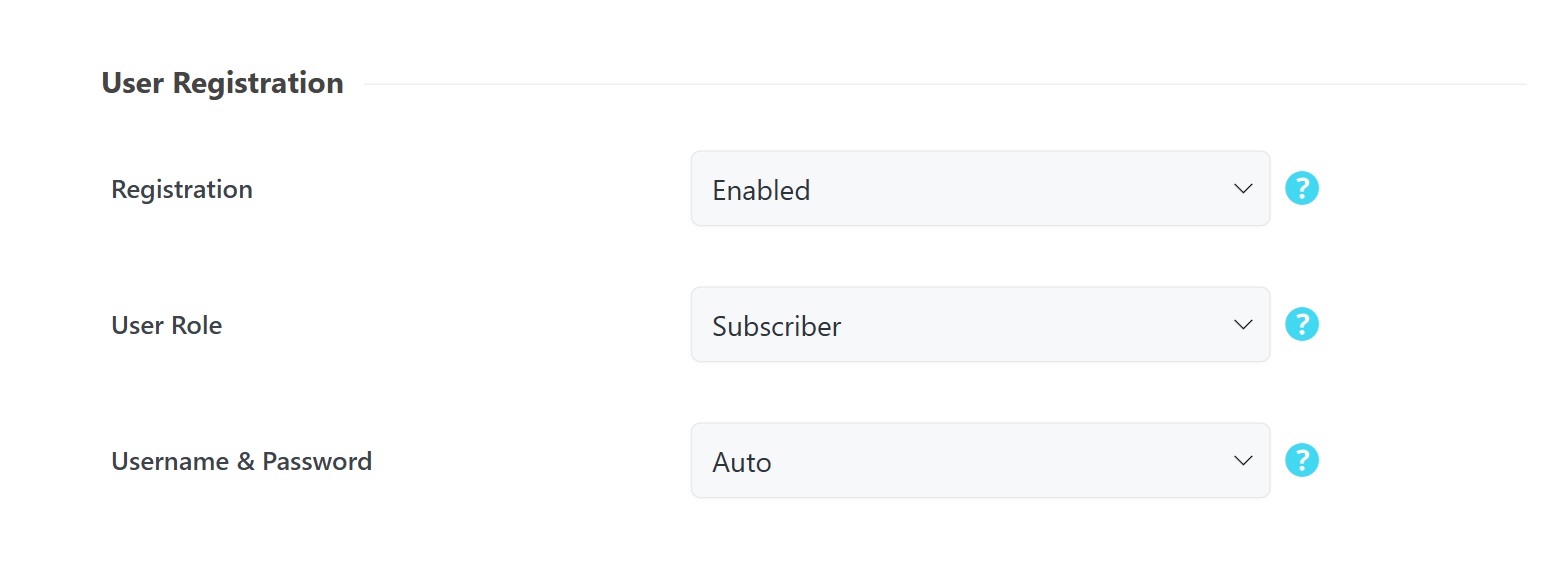
- Registration: If Enabled, an account is created for the primary attendee.
- User Role: Assign the default role (typically Subscriber) for new users.
- Username & Password: Choose Auto for system-generated credentials or Manual to allow user input.
Limitations & Restrictions
Manage capacity and prevent duplicate entries:
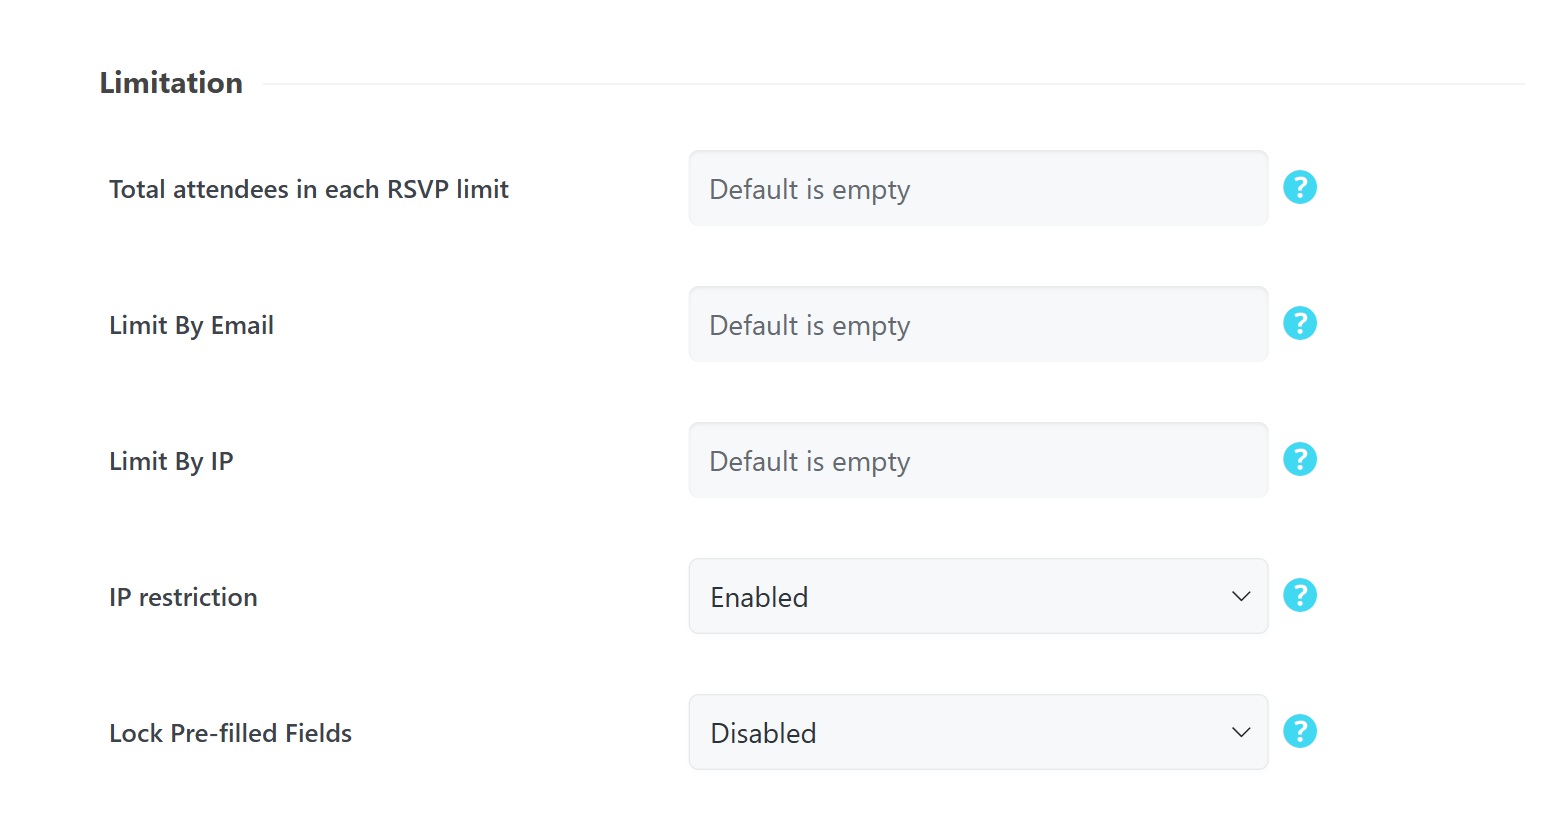
- Total attendees in each RSVP limit: The maximum number of guests a single person can register at once.
- Limit By Email: Restricts registration to one entry per email address per event.
- Limit By IP: Defines the maximum number of RSVPs allowed from a single IP address.
- IP restriction: Toggle this enabled or disabled to control IP-based security.
- Lock Pre-filled Fields: When enabled, logged-in users cannot modify their pre-filled name and email fields.
Post-Registration & Confirmation
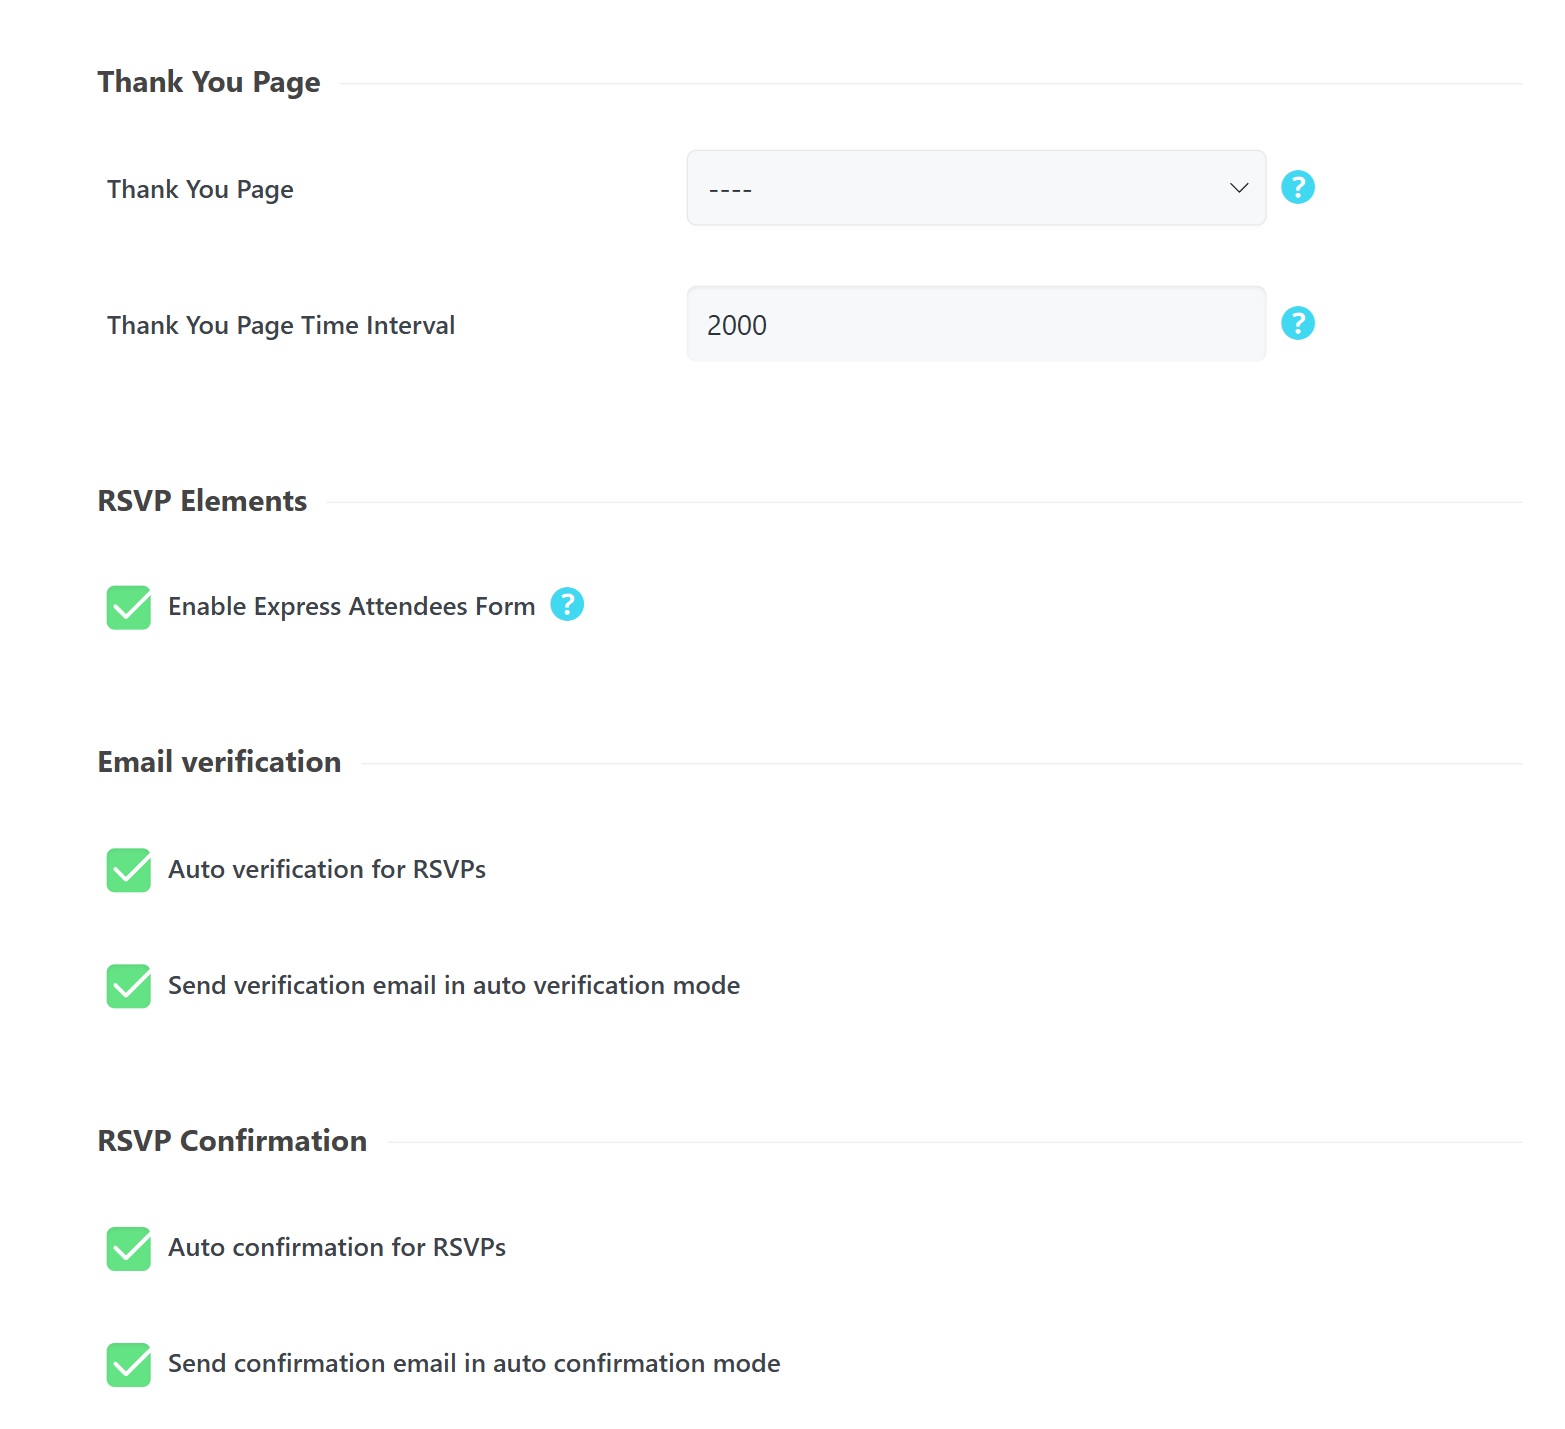
- Thank You Page: Select a page to redirect users to after registration.
- Thank You Page Time Interval: Set the delay in milliseconds (e.g., 2000 for 2 seconds) before the redirection occurs.
- Enable Express Attendees Form: Automatically applies the first attendee’s info to all spots in a multi-spot registration.
- Email Verification: Options to Auto verify or manually send verification emails.
- RSVP Confirmation: Choose Auto to confirm or trigger confirmation emails manually.
Event-Level RSVP Configuration
After configuring global settings, you must manage individual event settings by navigating to Edit Event > RSVP Options.
Individual RSVP Controls
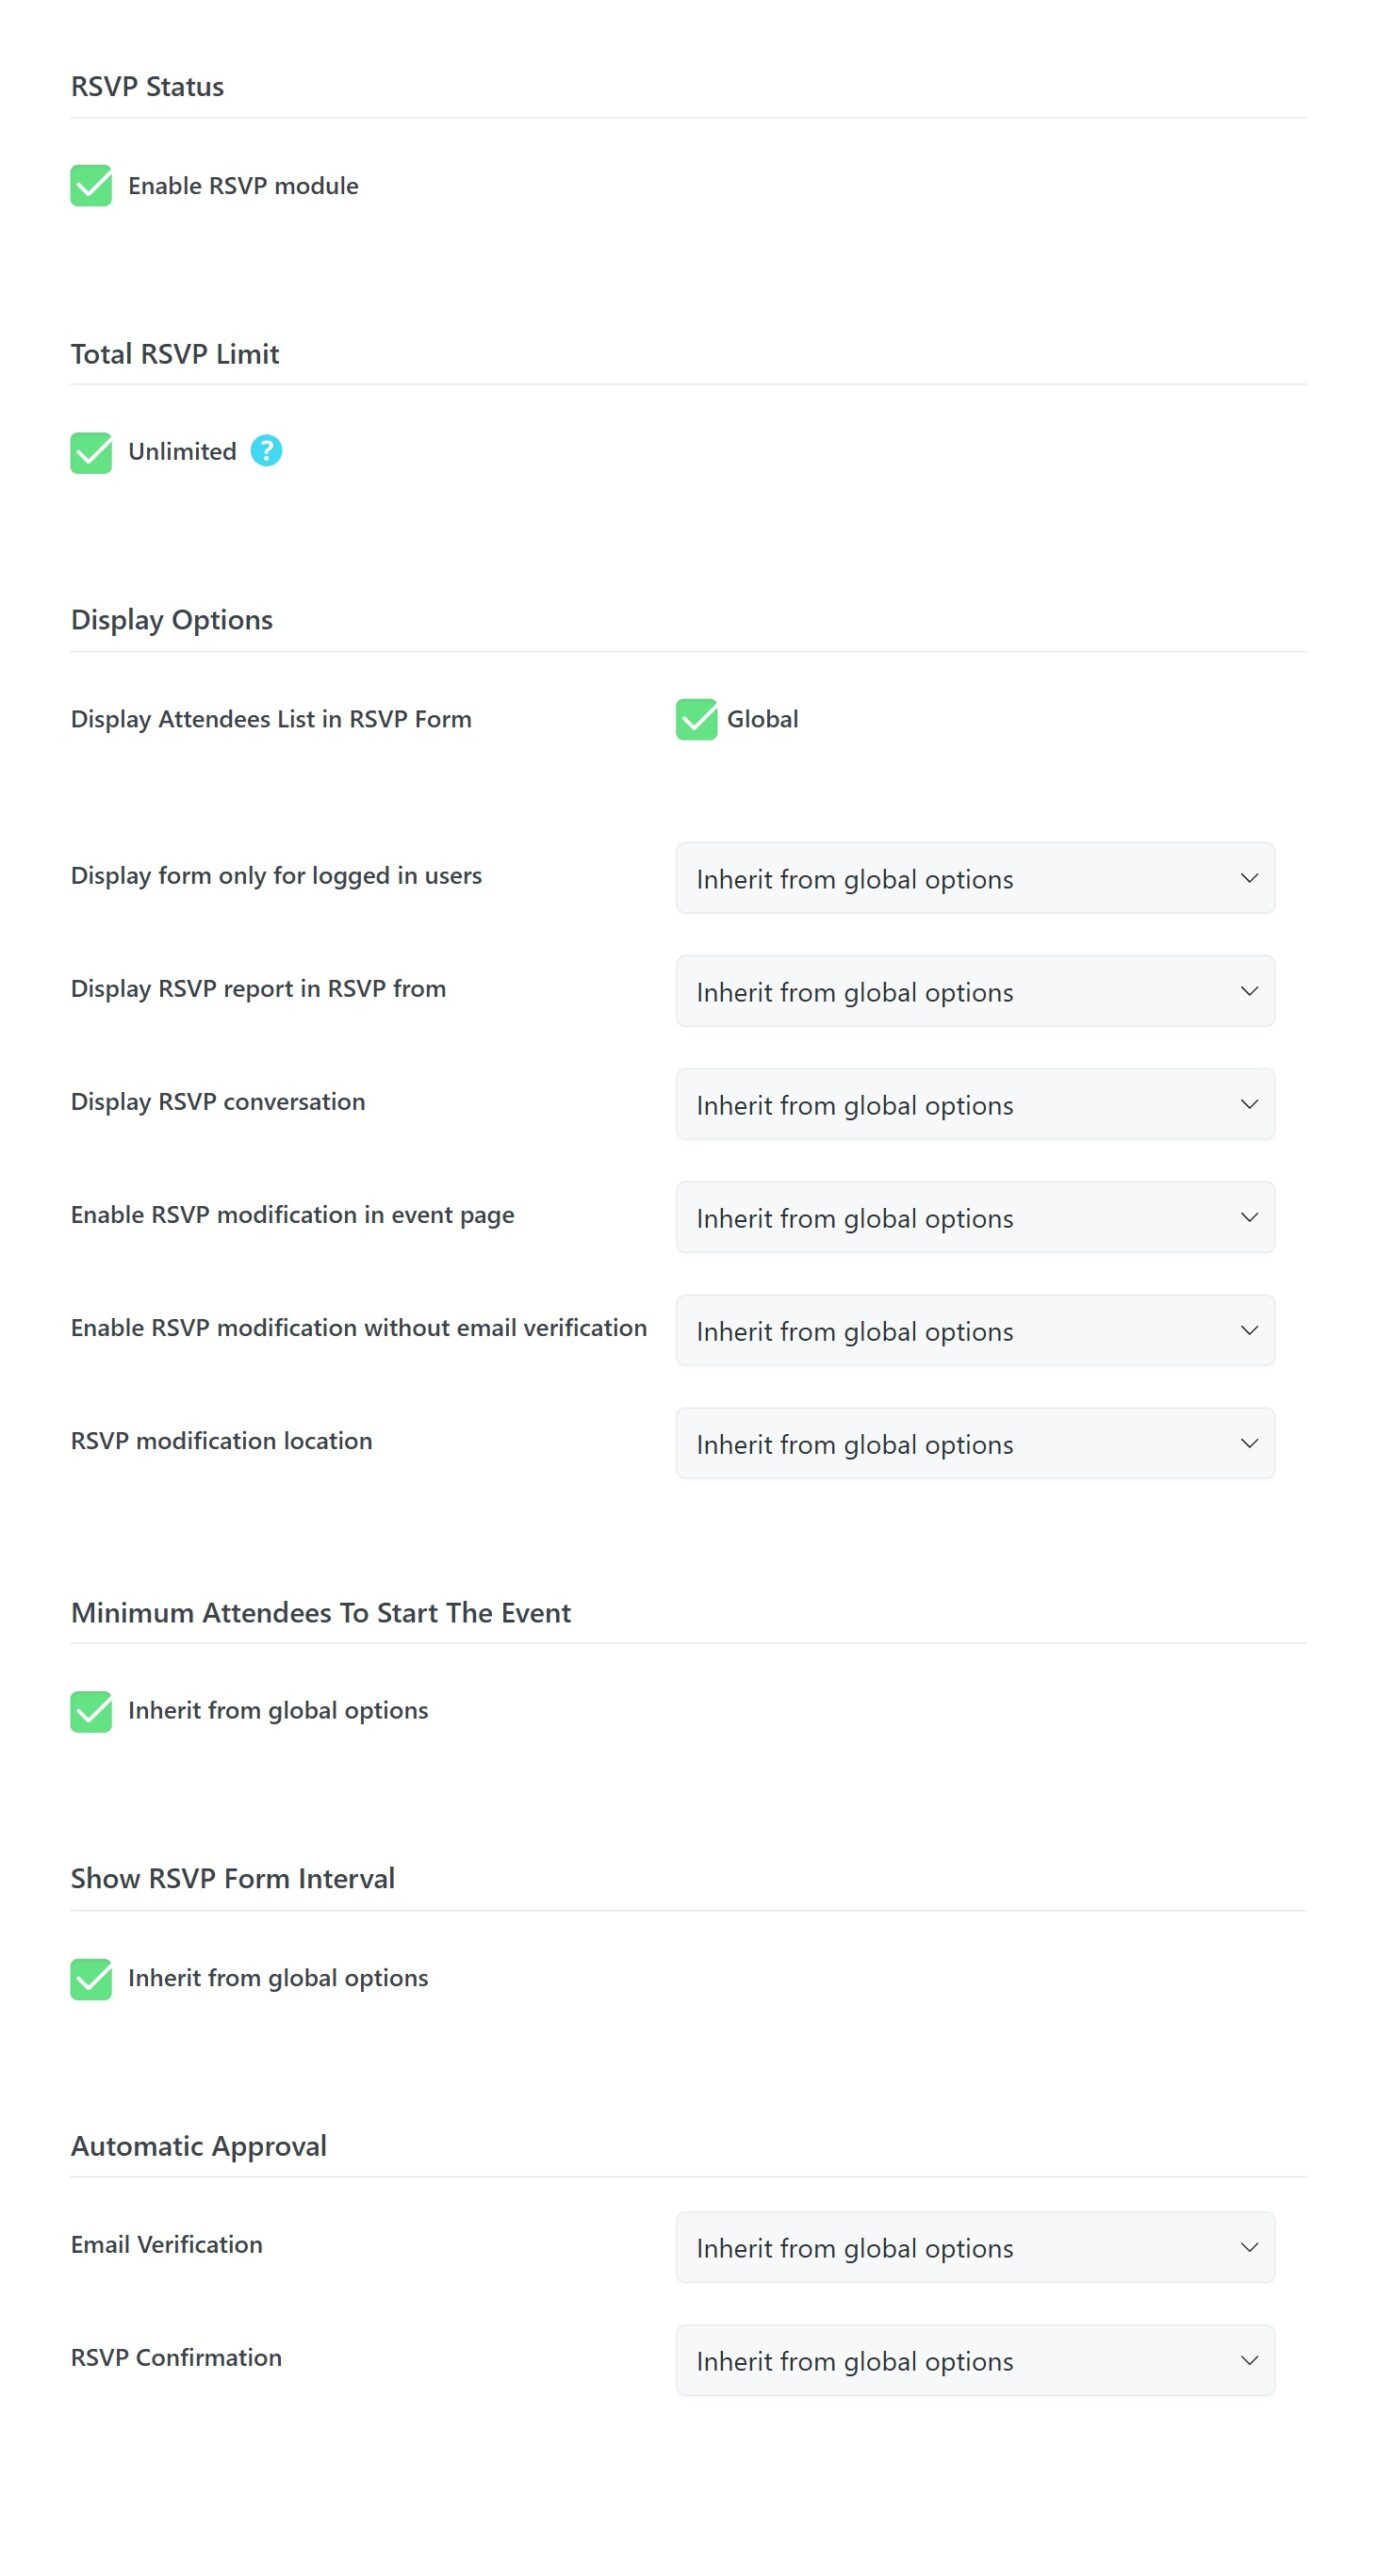
- Enable RSVP module: You must explicitly check this box for each event where you want the registration form to appear.
- Total RSVP Limit: Choose to keep registrations Unlimited or uncheck the box to set a specific capacity for the event.
- Customizing Display Options: For each event, you can choose to Inherit from global options or set unique rules for the following:
- Display form only for logged in users
- Display RSVP report in RSVP from
- Display RSVP conversation
- Enable RSVP modification in event page
- Enable RSVP modification without email verification
- RSVP modification location
- Inherited Rules: You can choose whether to inherit the Minimum Attendees to Start the Event and the Show RSVP Form Interval from your global settings.
Per-Event Automatic Approval
Manage security and confirmation on a case-by-case basis:
- Email Verification: Set to Enabled, Disabled, or Inherit.
- RSVP Confirmation: Set to Enabled, Disabled, or Inherit.
Customization & Form Builder
The RSVP addon offers deep customization for the data you collect.
![]()
RSVP Form Builder
Access the builder to create tailored forms with Per Attendee Fields or Fixed Fields. Available field types include:
- Per Attendee Fields: Data collected for every individual guest.
- Fixed Fields: Global data collected once per registration.
Available Field Types: MEC First Name, MEC Last Name, MEC Email, Text, Email, Date, Tel, File, Textarea, Checkboxes, Radio Buttons, Dropdown, Agreement, and Paragraph.
Upload Field Options
When using the File field, you can configure:
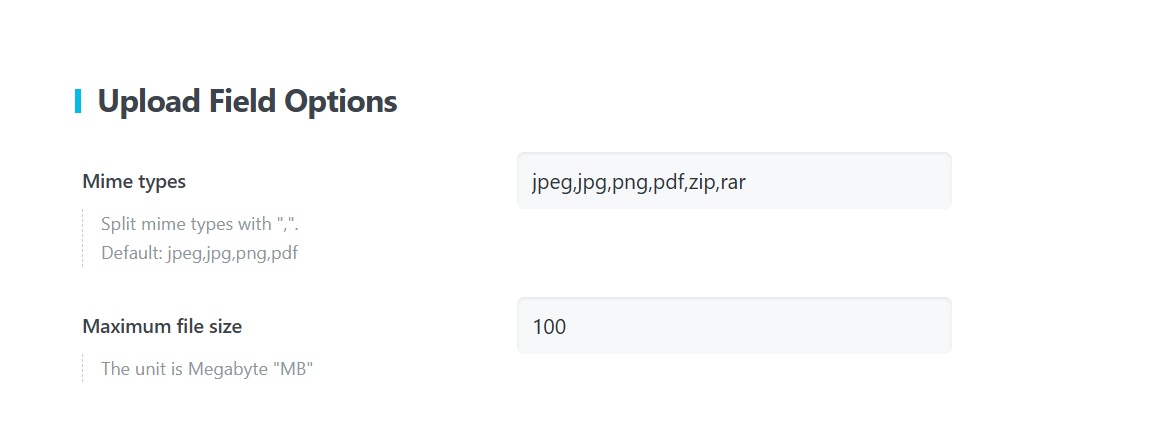
- Mime types: Specify allowed formats (default: jpeg,jpg,png,pdf).
- Maximum file size: Set the limit in Megabytes (MB).
Status-Specific Forms
You can choose to Inherit from the Main RSVP Form or Enable Custom Form specifically for users selecting Yes, No, or Maybe.


Using RSVP Shortcodes
For flexible placement, the addon provides two primary shortcodes:
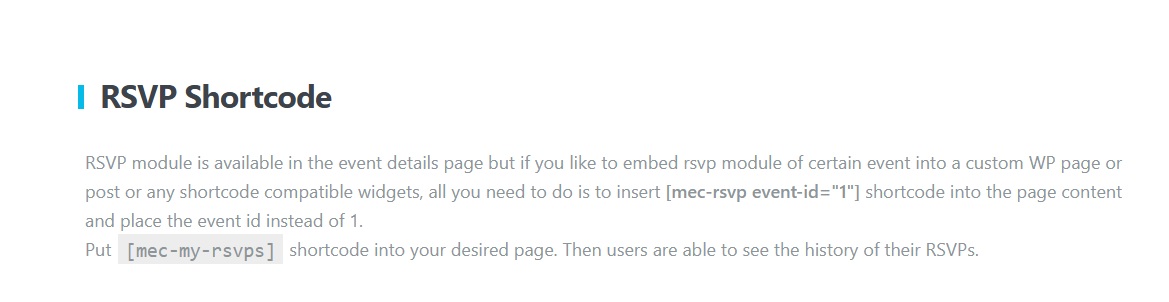
- Embed a Specific RSVP: \[mec-rsvp event-id=”1″\] – Replace “1” with your specific event ID to embed the form on any page or post.
- User RSVP History: \[mec-my-rsvps\] – Allows logged-in users to see their personal RSVP history in chronological order and manage or delete their entries.
Pro Tip: Even after configuring global settings, you must manually Enable the RSVP form within the “Edit Event” page for each individual event to make it visible to users.
Use Cases (When This Addon is Useful)
- Community Meetups: Ideal for free local gatherings where you simply need to know the head count for logistics.
- Internal Corporate Training: Use the “logged-in users only” restriction to manage staff workshops while automatically capturing employee details.
- Event Waitlisting: Use the “Minimum attendees” feature to gauge interest before officially confirming a high-resource event.
Situations This Addon May Not Be Ideal
- Paid Ticket Sales: This module does not process payments; for paid events, use the MEC Booking Module.
- Numbered Seating: If you require specific seat assignments or a floor plan, the Event Seat Addon is required.
- Non-WordPress Platforms: This tool is built specifically for Modern Events Calendar on WordPress.
Troubleshooting for Beginners
- Form Not Showing? Ensure you have both enabled the module in Global Settings and checked the Enable RSVP box on the individual Event Edit Page.
- Users Can’t Cancel? Verify the Cancellation Period settings. If a user is outside the defined window (e.g., too close to the event start), the system will block the cancellation.
- Spam Registrations? Ensure Google Captcha is enabled and configured correctly in the RSVP settings tab.
Updated on: 23/02/2026
Thank you!